Installing An Electronic Distributor: How and Why

The mixture of fuel and air in an internal combustion engine is ignited by the spark coming from the distributor. There are many advantages of using an electronic distributor over a mechanically timed points and condenser distributor.
How do I change from a mechanical to an electronic distributor?
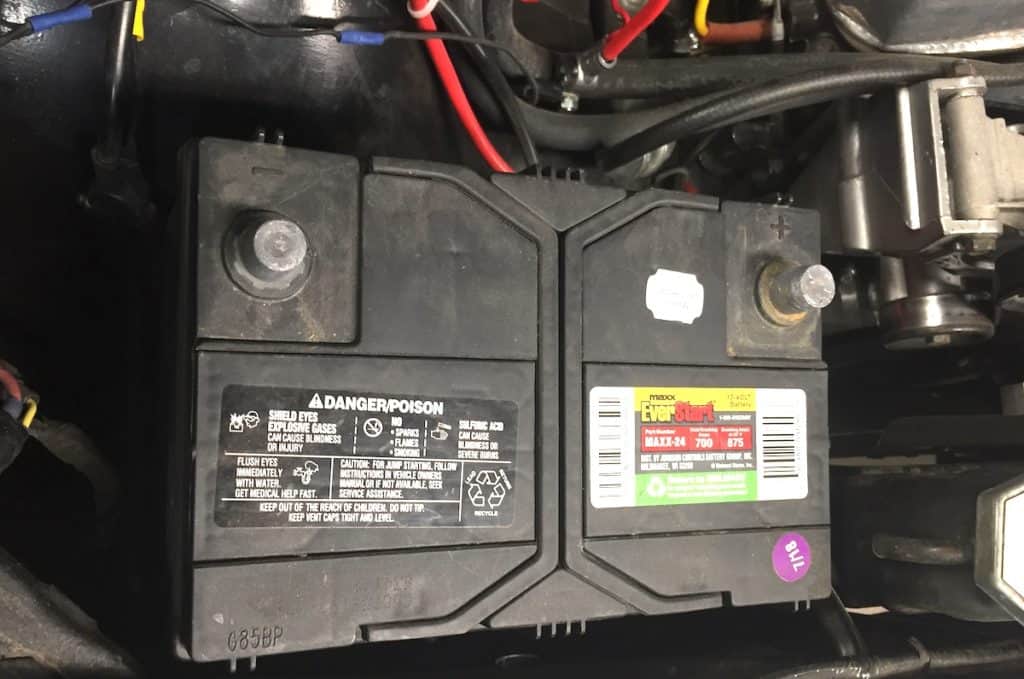
- Disconnect battery
- Disconnect distributor wiring
- Remove cap & mark distributor location
- Remove vacuum hose & hold down bolt
- Remove old distributor
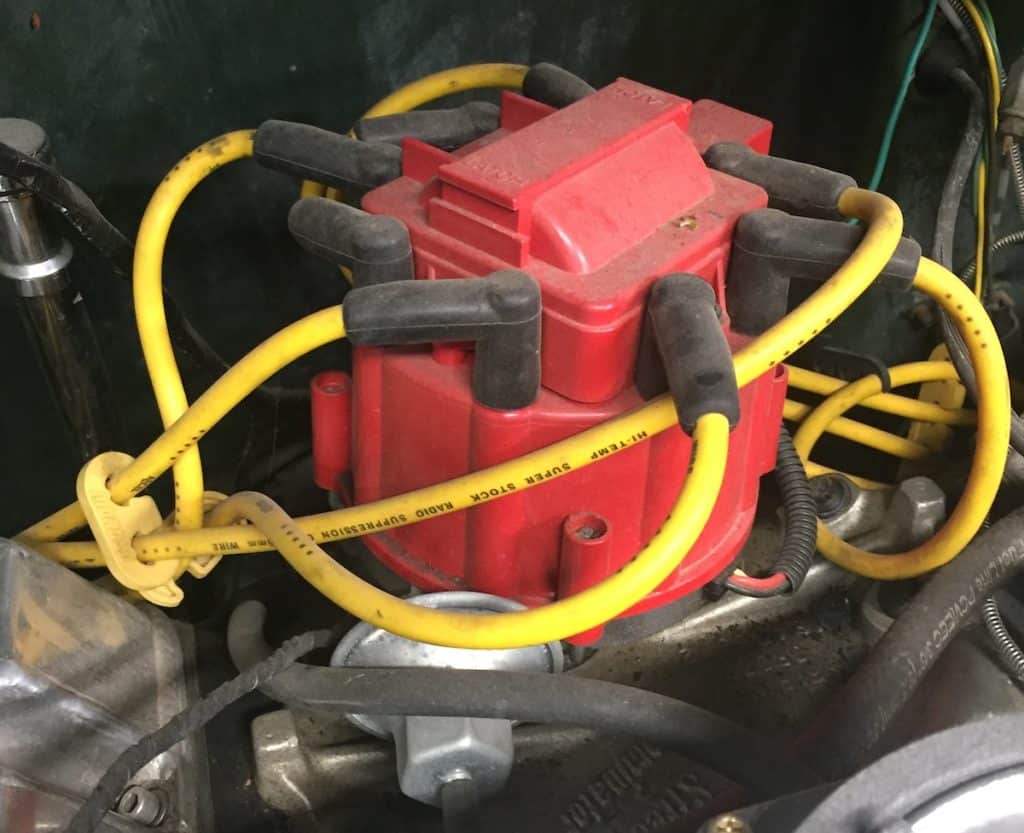
- Install new distributor
- Install cap and wires
- Reconnect wiring & vacuum
- Start engine
- Check timing
Changing over from points to electronic ignition is easy and you will enjoy the benefits as long as you own your truck. Follow along as we look at the advantages of electronic ignition and see how easy it is to install.
How To Change Out a Distributor: Step by Step
Step 1 – Prep: Park your truck on a level surface and undo the battery cables.
Step 2 – Label the wires: Label the wires attached to the coil system and disconnect them. Remove the coil bracket and coil from the engine.
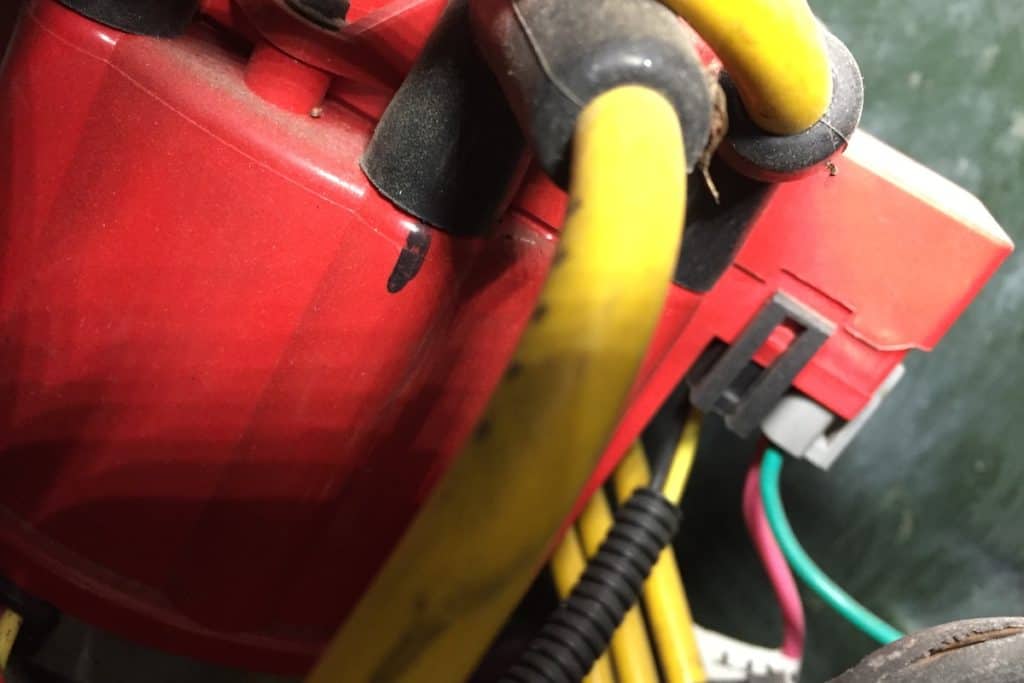
Step 3 – Remove the cap and mark rotor position: Remove the distributor cap from the distributor and set it aside leaving the spark plug wires attached. Carefully make a mark inside the distributor housing to indicate the position of the rotor.
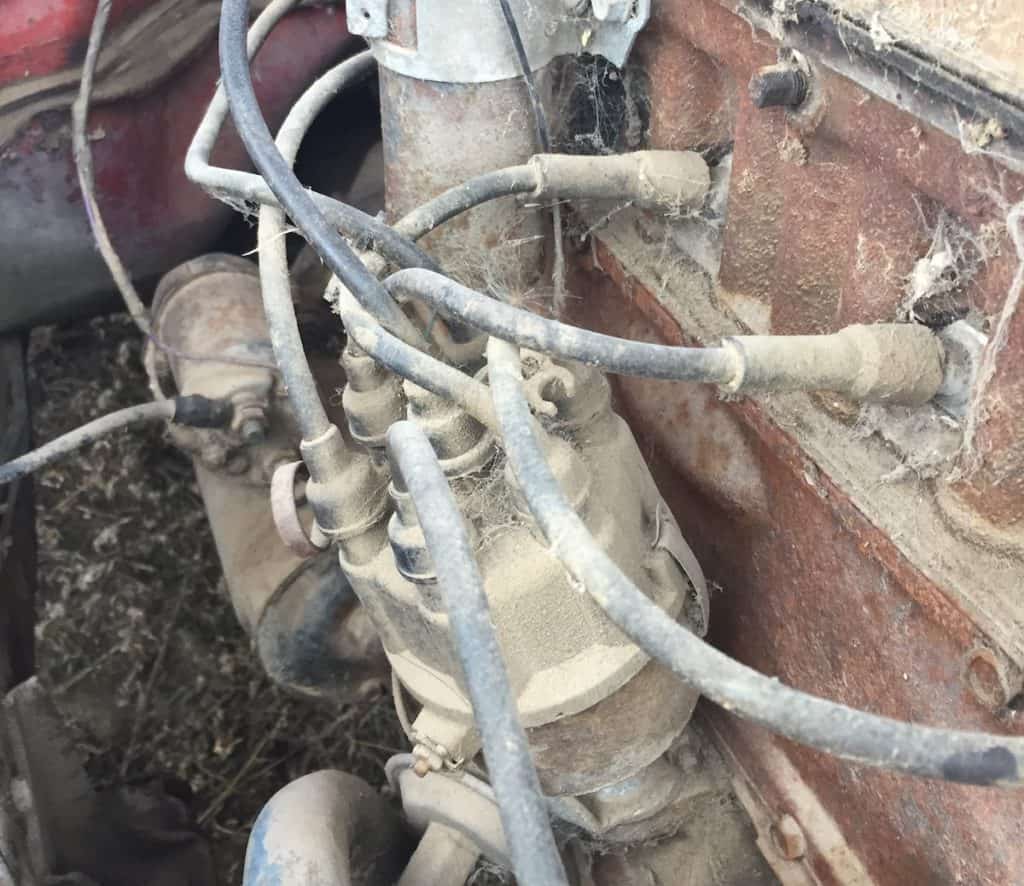
Step 4 – Remove hose and bolt: Remove the vacuum hose that is attached to the advance vacuum canister. Remove the bolt holding down the distributor and lift out the distributor while giving the rotor a slight counter clockwise turn.
Step 5 – Prep new distributor: Disconnect the wiring harness from the new distributor cap and remove the cap from the housing.
Step 6 – Install new distributor: Place the gasket over the gear and up to the distributor collar. A small dab of silicone will help keep it in place. Lubricate the distributor gear with engine oil. Turn the shaft of the distributor until the rotor is in the same position as was marked on the old rotor.
Place the distributor into the engine. As it goes in the rotor it will turn clockwise as it engages the camshaft gear. You need to adjust for this by turning the rotor a few degrees counter clockwise before dropping in the distributor. The collar of the distributor should sit all the way down and lay flat on the intake manifold.
Turn the distributor housing until the vacuum canister points in the same direction as the original canister pointed.
Step 7 – Install bolt and cap: Install the hold down bolt and tighten it snug but not too tight so that you will be able to turn it when adjusting the timing. Install the distributor cap and snap or screw in place.
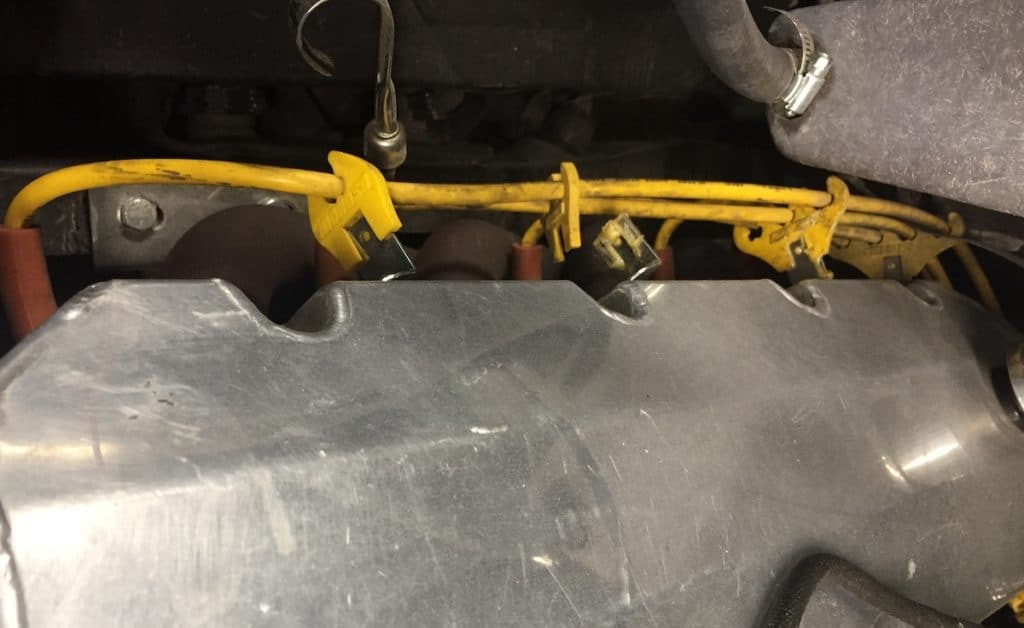
Step 8 – Install spark wires: If doing this conversion from an old points distributor you will need new HEI style spark plug wires. Beginning with the number one spark plug wire move the wires from the old distributor cap onto the new one.
Step 9 – Connecting the wiring: If converting from a point type system remove any of the old resistance wire or ballast resistor that may have been used. If a resistance wire is present, replace it with copper 12 gauge stranded wire. For most older vehicles the resistance wire begins at the engine side of the fuse block.
If there is a ballast resistor present, remove the wires that are attached to both sides of the resistor. Connect the wires that were removed to a single point, and isolate the connection from any grounds.
Step 10 – Plug in ignition wire: Plug the ignition switch wire marked BAT on the distributor cap plug ins. If using a tachometer connects its wire into the plug in marked TACH
Step 11 – Reconnect: Reconnect the battery, plug the vacuum hose to the vacuum advance canister then check to see that all of the spark plug wires are connected correctly.
Step 12 – Timing: Start the engine and do a check of the timing and set it to manufacturers settings with the vacuum hose disconnected. Rotate the distributor housing to advance or retard as needed. Tighten the hold down bolt when timed correctly and reinstall vacuum hose.
What Are The Pros And Cons of Electronic Ignition?
What are the reasons you might want to change your distributor to electronic? I found there are many advantages to installing electronic ignition and very few if any disadvantages. Points still have their avid followers in the truck world though, so we’ll list their reasons too.
| Advantages of Electronic Ignition | Advantages of Points Ignition |
| Better Spark | Stock look |
| More reliability | Parts are readily available |
| Less emission (better running engine) | Purists like original equipment |
| Fewer moving parts to wear out | You can adjust them |
| No points to wear out | |
| No adjusting points (maintenance) | |
| Parts readily available | |
| Improved fuel economy |
Tools And Supplies Needed
As with most of our do it yourself repairs, you already have most of the tools and supplies in your shop. You can buy an electronic distributor at any auto parts store and there are lots of them available on all the online stores.
- New distributor
- New cap and rotor (if not supplied with the distributor)
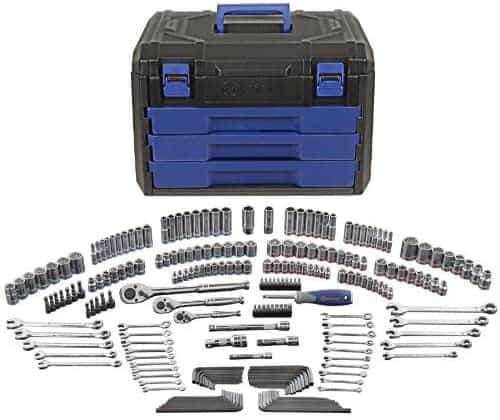
- Combination wrenches
- Allen wrenches
- Socket wrenches
- Flat head and Philips head screwdrivers
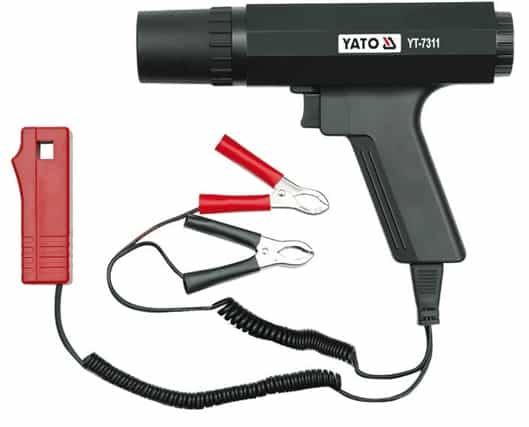
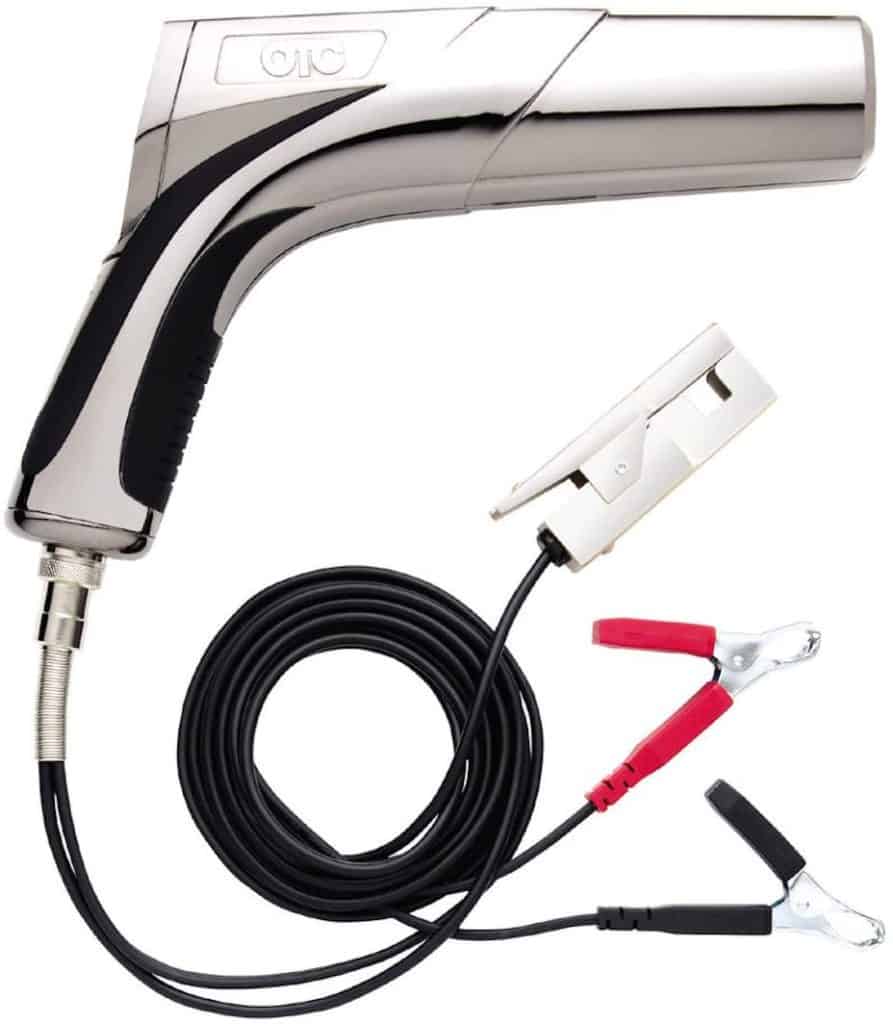
- Timing light
- Timing specifications for your vehicle
- HEI spark plug wires if converting from points
Distributor Prices
As with all parts in this industry you can pay as little or as much as you want. The distributor I installed in my truck cost about $60 and seems to work fine. I’m not into racing and have a pretty tight budget so this one worked well for me.
I had an I-pull HEI in the basket of parts that came with my truck but it looked pretty hammered so I traded it for a Quadrajet carburetor that needed to be rebuilt. Looking up a used HEI distributor at the local I-pull yard, there really isn’t that much of a savings to buy a used distributor.
| Electronic distributor | Price |
| U.S. ignition BBC or SBC | $55 to $60 |
| A-Team Performance BBC or SBC | $100 to $105 |
| Speed-master at BBC or SBC | $55 to $60 |
| SSr-II Pro Series BBC or SBC | $165 to $175 |
| MSD Ignition Pro-Billet | $340 to $350 |
| MSD Ignition – 8394 | $500 to $520 |
| I-Pull HEI | $35 |
Final Thoughts
Its amazing how easy this swap is and how little time it takes. It seems like it would be a daunting task because were dealing with the distributor and wiring but when you follow the instructions it is really simple to do. I personally didn’t want to deal with filing and adjusting a points and condenser distributor like I did back in my high school days. Happy Trucking!
The Tool Box
Here are a couple of tools that will help out with this project that are handy to have around.
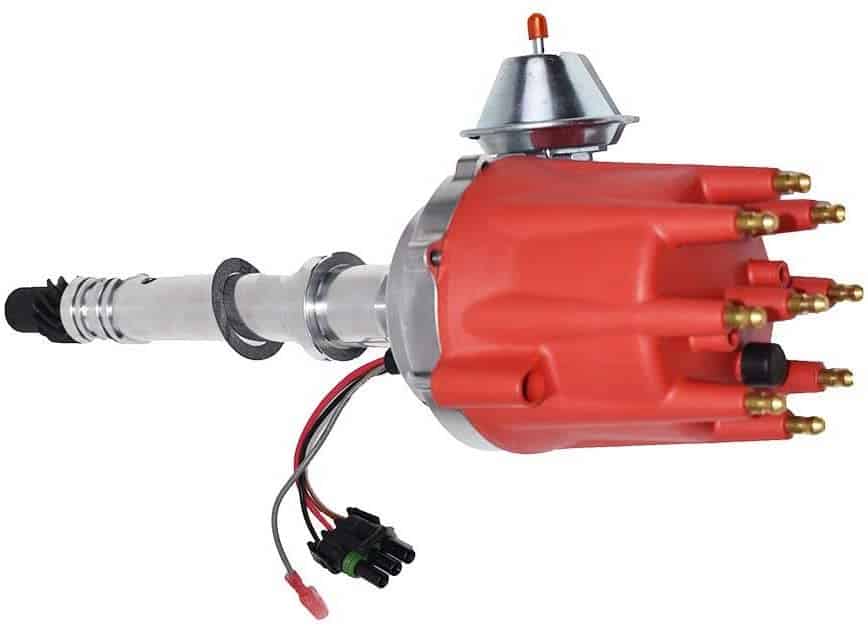
Heres an example of a replacement distributor:
Related Topics
How do I adjust timing on my engine? It is easy to adjust your timing, all you need to do is turn the distributor housing one direction or the other, depending on whether or not you want to advance or retard the timing. If the rotor turns clockwise, you’ll advance the timing, by rotating the distributor counterclockwise you’ll retard the timing. With the aid of a timing light you can easily set the timing to the engines specs.
How do I adjust the carburetor on my truck? When the engine has warmed up to it’s running temperature, find the 2 screws on your carburetor that adjust the fuel and air mixture. You can then use a screwdriver to adjust both screws ¼ turn at a time until your engine runs smoothly. You can also adjust your idle speed by finding the idle mixture screw that limits the flow of fuel at idle and adjust it in to raise the engines rpm’s and out to lower the engines rpm’s.