How I Built A Wooden Engine Hoist: A Step-by-Step Guide
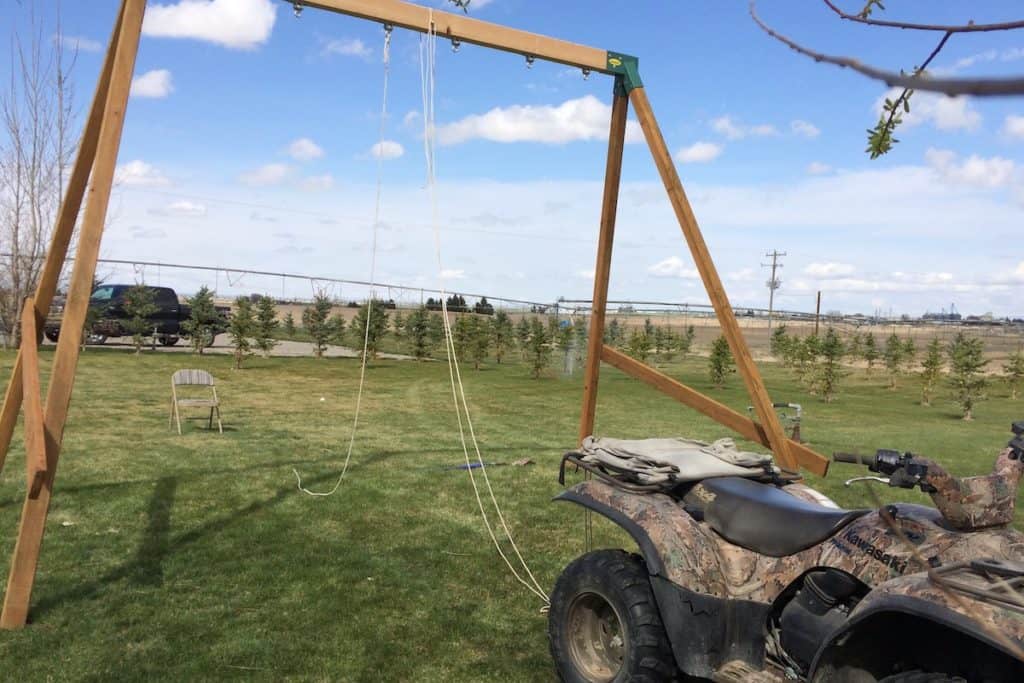
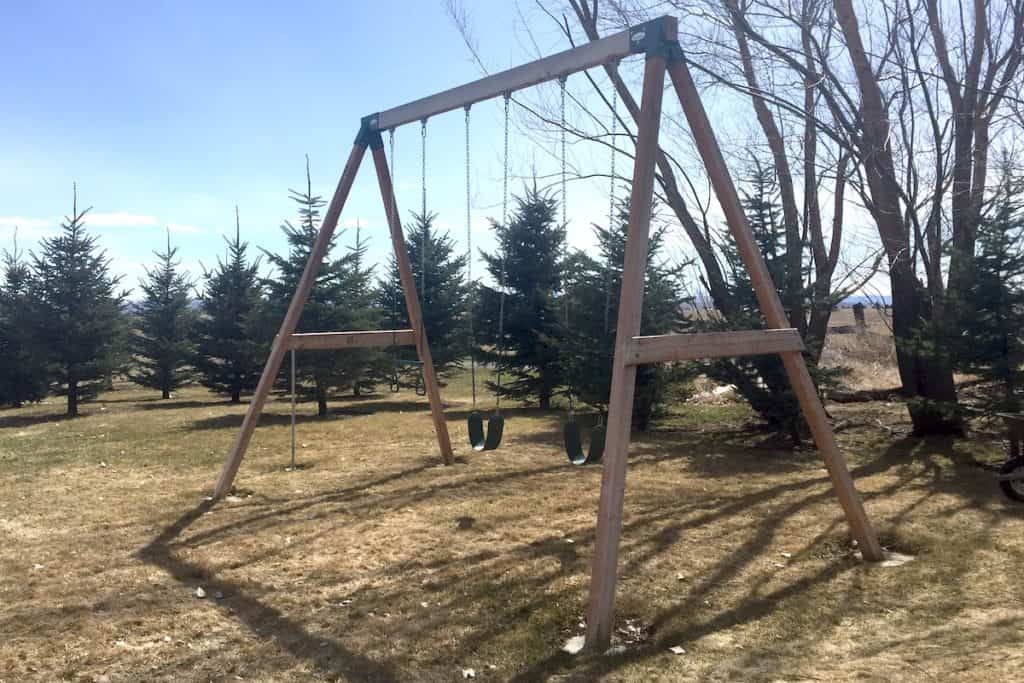
Having an engine hoist that you can dismantle in a few minutes to use in your shop/garage, or that can be set up for pulling an engine outside can be a very valuable tool. ( I built mine so when not pulling an engine it is used as a nice looking swing set in my yard.)
How do you build a wooden engine hoist?
- Buy 2-4×6 A frame swing set mounts
- Buy 1-4x6x10′ wooden beam
- Buy 4-4x4x8′ pressure treated legs
- Buy 1-2x6x8′ treated plank
- Insert wood into frames, secure with lag bolts
- Stand upright and connect ratcheting hoist with chain
This is a quick and easy build that we can all make at home. Let’s look into the details like parts, cost, durability, and uses.
Getting Started
This A-frame can be built in just a few easy steps.
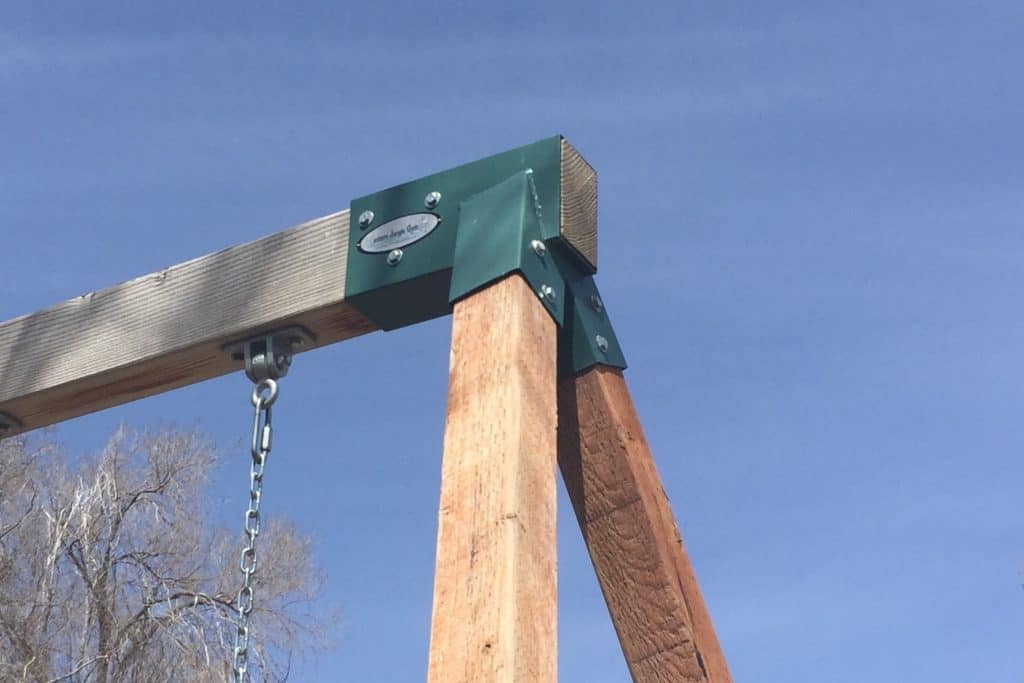
1- Insert the 4×6 beam into the A-frame swing set mount pieces. These should slide quite easily as you want them to be adjustable. If they are tight you may have to sand or plane down the beam to where it slides easily. When you have it set where you want it attach with provided lag bolts.
You can easily dismantle the frame or adjust the beam in and out by removing the lag bolts.
2- Insert the 4×4 pressure treated legs into the metal A-frame pieces. If it will be staying in the same spot for a long time it would be best practice to use all the provided bolts.
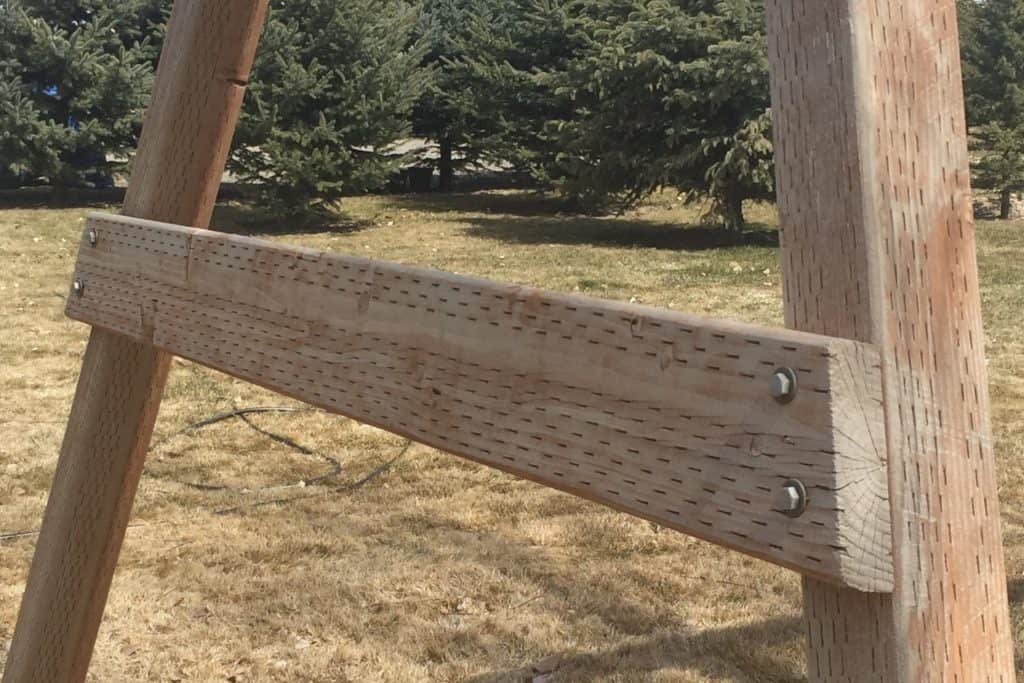
3- Cut the 2×6 into pieces that will fit between the legs on each side. This will keep the legs from ever starting to spread apart. Connect these with 2 three inch lag bolts and washers on each side.
4- You are now ready to stand up your A-frame. You may want some help with this or hook a rope to a beam in your garage or shop ceiling to pull it up. I pulled mine up using a long rope attached to a 4 wheeler and rolled it up on its legs.
5- There are a few different ways to hang your hoist from the beam with the easiest being running a chain over it and bolting the chain links together so it won’t slip. You could also use a heavy strap but be sure and check the load rating of the strap.
What Are The Parts I Need?
There are just a few parts needed to build this hoist:
- Two A-frame swing set mounts: There are open top types and the kind where the lumber slips inside the mount. The kind where the lumber completely slips into the frame will be the sturdiest and longest lasting. Buy the ones that are powder coated as they will last much longer than painted metal.
- One 4x6x10′ wooden beam: This is your top beam that carries the weight so pick out a good solid piece of lumber. Check closely for splits, cracks or rotted areas that could be a sign of a weak spot. I would purchase one ten feet long as you can adjust the beam through the swing set mount if you need it wider or narrower.
- Four 4x4x8′ pressure treated boards: These will be your legs on the four corners so you will want to give them a good thorough inspection also. If you think you may need your hoist to be taller go with the ten feet long 4×4’s.
- One 2x4x8′ pressure treated plank: Cut these down to the size to fit horizontally between the legs on each side for added strength. You will need some lag bolts about 3″ long with washers to connect to the 4×4 legs.
- Chain or heavy strap: You can wrap a chain or heavy strap over the 4×6 to hook your winch or come along to.
- Winch or Come-Along: There will be lots of choices you can go with here depending if you have power outlets available, battery operated or a chain pull. You can use a come-along also.
How Much Will It Cost?
These are estimated costs from either a Lowes or Home Depot type store.
- Two metal A frames powder coated: $60 to $90
- One 4x6x10′ common pine: $17
- 4 – 4x4x8′ treated lumber $45
- 1- 2x6x8′ treated board $9
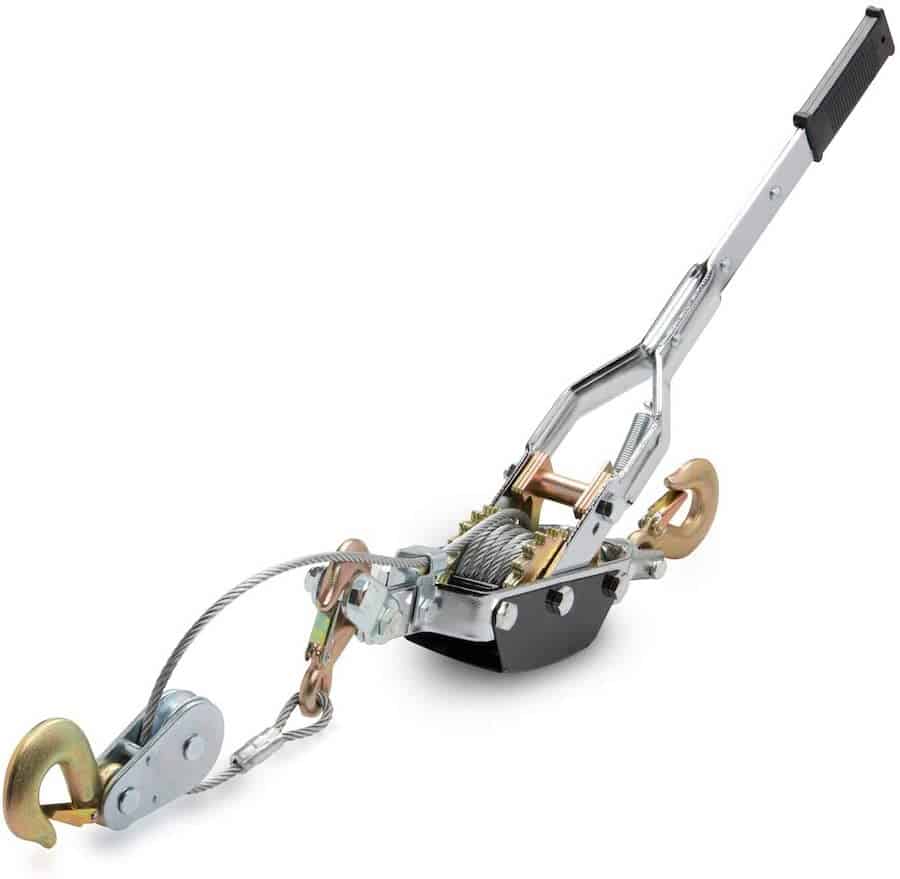
- 1- 2 ton come-along $40 or
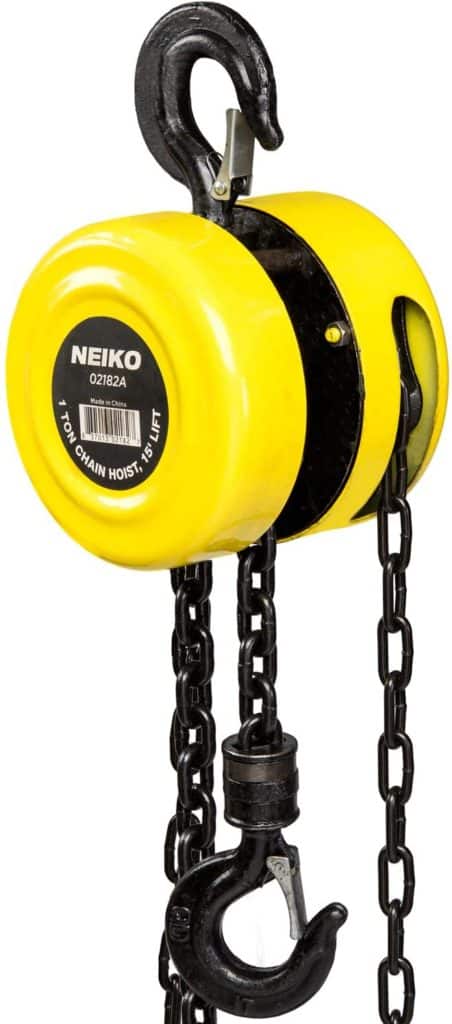
- 1- 2 ton hand pull chain hoist $65 or
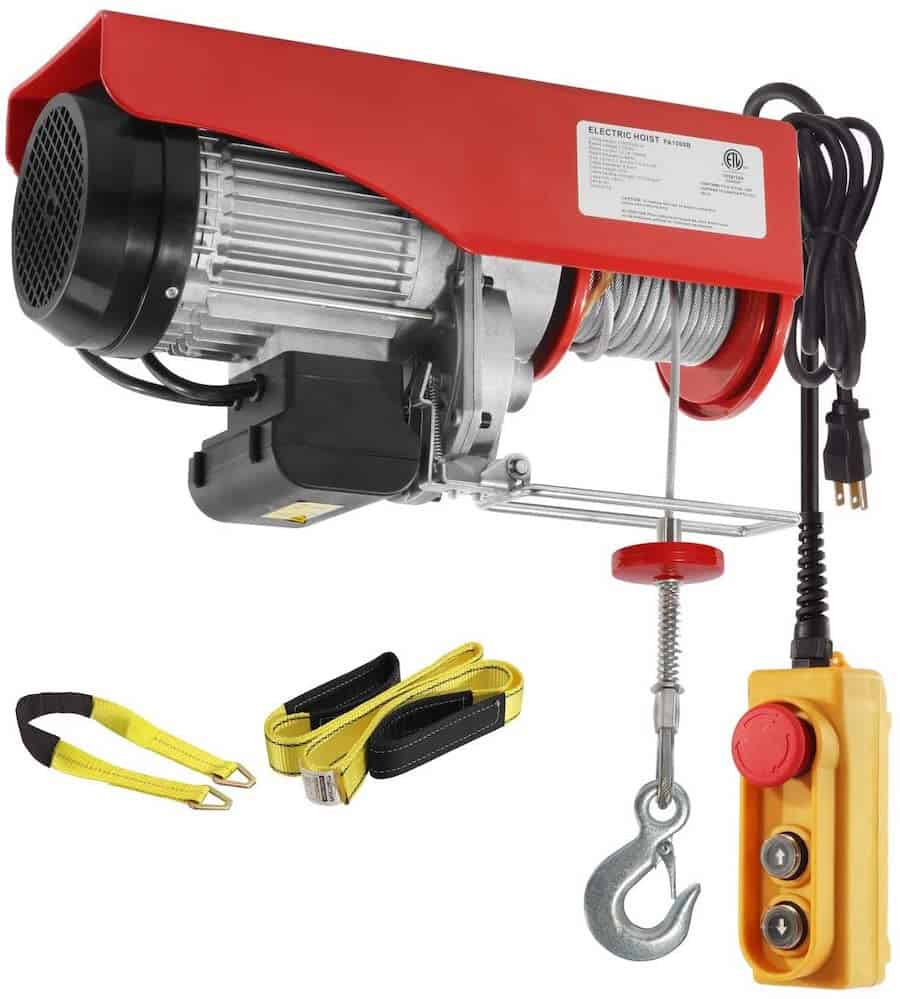
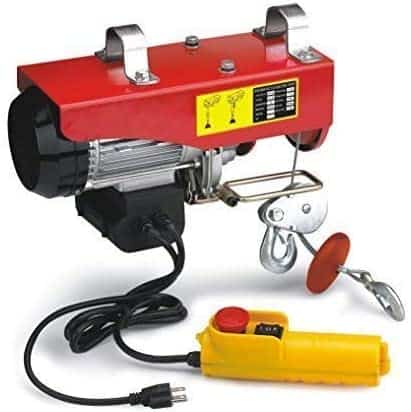
- 1- 1320 Lb Overhead Electric Hoist Crane Winch W/Remote $140
If you already own your own electric winch or come-along your cost to build this hoist will be approximately $130 to $140 and will last a very long time. It’s incredibly sturdy and can easily be dismantled and stored.

What Are My Hoisting Choices?
There are a lot of different ways to hoist that motor into the air. Lets look at a few:
- These manual hand chain blocks are very inexpensive and have a really good capacity of one ton. This hand driven one has a 15 foot lift with a one ton capacity:
The electric ones can make the job a lot easier if you have 110 volts close by. This one has a 1320 pound capacity that will work for any automobile engine.
The other choice which I have used a lot of times is the good old come along. The beauty of these is there are tons of uses for them. This is a nice 5 ton come along that will lift any engine out there.
Final Thoughts
That was way to easy wasn’t it! For not much over a $130 you have a engine hoist that you can erect in your shop, garage or driveway in just a few minutes. It is strong enough you can pick up any size motor with it. And when it’s not in use for picking motors it could even double as a swing set. You can’t beat that. Happy Trucking!
The Tool Box
This is the pack I keep hoping to have one of these days.

This electric winch would be perfect for your engine hoist.
Related Topics
Can I install LED lights in my truck interior? Yes, LEDs produce a lot less heat than an incandescent bulb of equal lumens, and the light is much whiter than incandescents, which increases the amount of light produced by each bulb in your truck interior and it will not cause any harm to the light mounts.
How do you pull a project truck automatic transmission? Undo the shifter linkage then remove the large bolts that hold the transmission to the engine block, and the small bolts that hold the dust shield in the bottom front of the transmission. Undo the transmission mount bolts on the transmission crossmember. Twist the speedometer cable from its mount at the rear extension housing. Undo the driveline then slide transmission back and out.
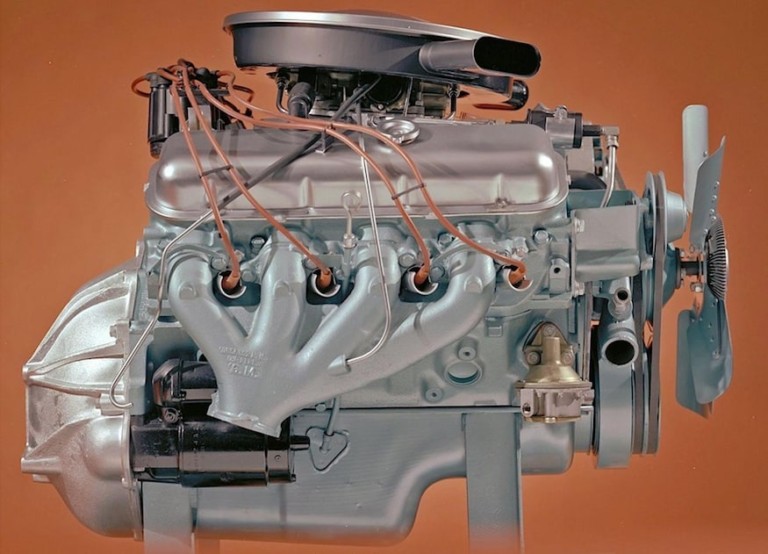
top image from dragzine.com