The 10-Step Process To Add Tilt Steering To A Classic Truck
After forty or more years the steering columns on classic project trucks are pretty beat up and outdated. Adding a tilt column can make getting in and out of a tight classic cab a lot easier, and with all the adjustment positions you can find one that fits your driving style.
10 Steps for adding tilt steering to a truck:
- Undo rag joint
- Undo shift linkage
- Remove firewall plate
- Remove boot ring
- Disconnect wiring harness
- Remove retaining plate
- Pull out steering column
- Attach intermediate column to new shaft
- Reverse removal steps to install
- Install new steering wheel
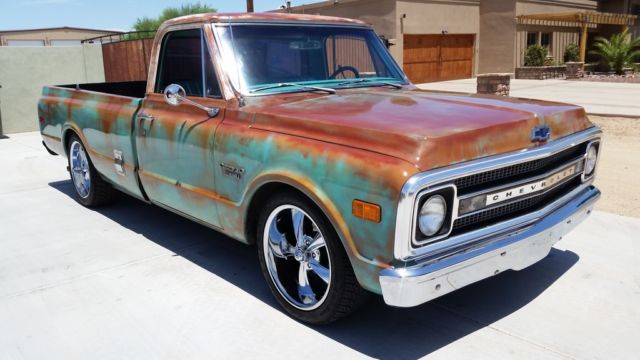
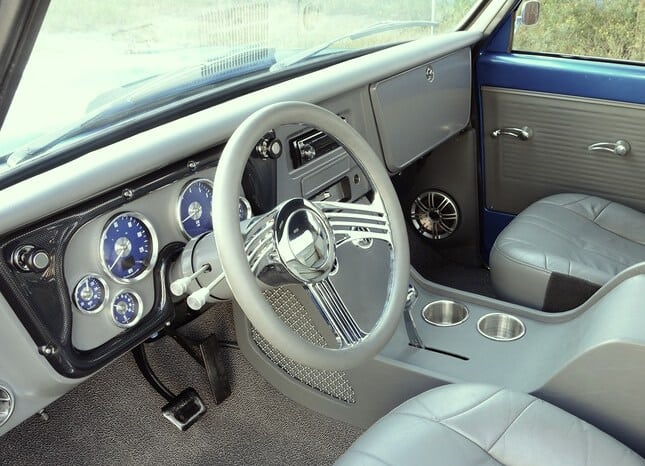
Adding a tilt steering column to your classic truck is a sure-fire way to increase your comfort level while driving. I’ve done this install a couple times on other trucks, and plan to put one in my current 72 C10 project truck. It is an upgrade for safety, plus appearance.
What Are The Options Available?
There are three levels of options available for steering column replacements:
1- The Salvage Yard: As pretty much with every upgrade we can add on our trucks– there is the salvage yard option. I checked with our local I-Pull yard and all steering columns are $30. If you can find one that is in good condition that will fit your application that is a pretty inexpensive way to add tilt steering.
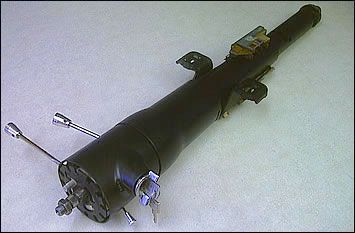
Used columns can be painted to match your interior and set at a comfortable angle that fits you with an added column drop.
There are a few things you will need to be aware of when picking out your donor column. Is your key start a column key or a dash key? That immediately becomes a wiring issue if the column you pick is not the same as your truck.
These donors work best if your column length is within a couple of inches of the original. You also need to have a plan of how to hook the shaft to your steering box. There are a lot of companies that make adaptors to fit different shafts to different steering boxes. It is best if you are working on a GM to use a GM for the donor vehicle. This goes the same for Ford or Dodge or what ever model of truck you are working on.
I have used a salvage yard column before. With the time and effort plus painting that I had into it, I think next time when I do the C10, I will go with the off brand column from CPP Classic Performance Products, or Demotor products.
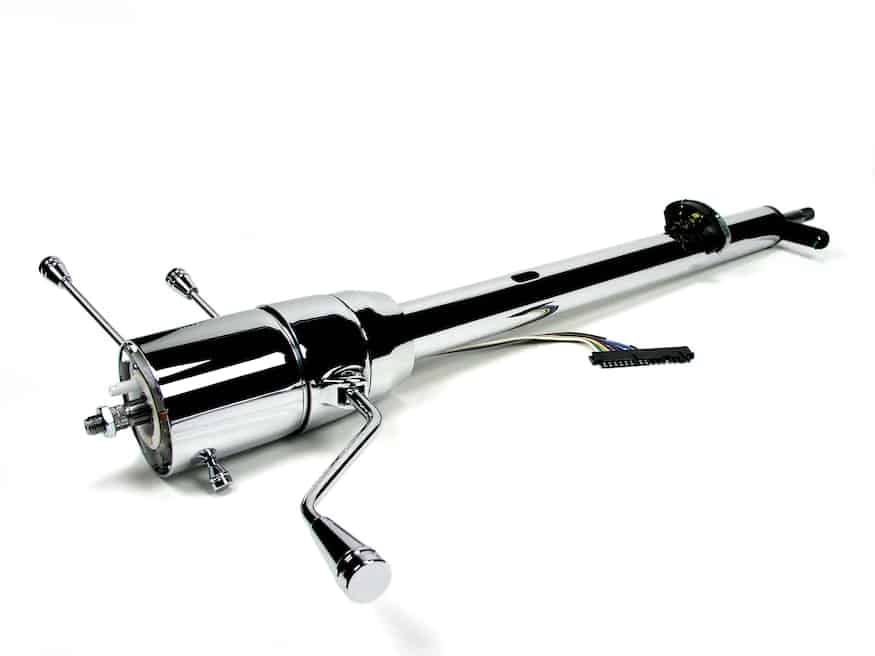
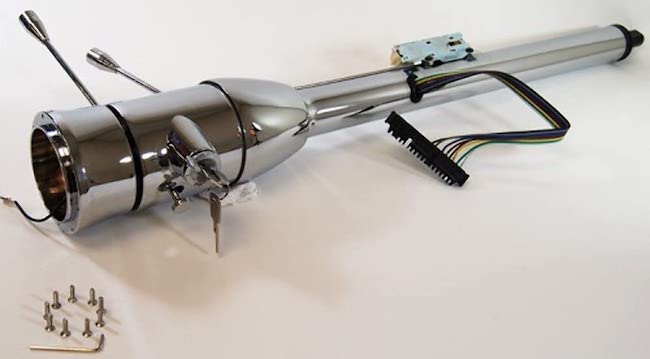
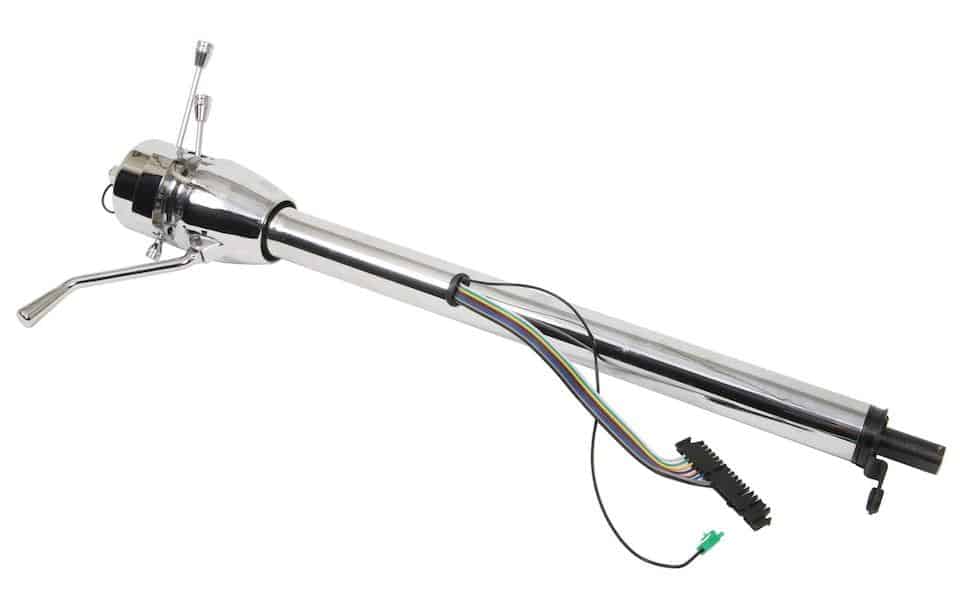
2 – New Off Brands: There are a lot of choices for columns online even on Amazon and eBay for really good prices. You can purchase a chrome column to fit a 72 C10 for between $200 and $300. This is one of those purchases where you have to put some trust in the customer reviews.
Using Demotor Performance on Amazon as an example: there were 42 customer reviews with a 4.5 rating out of 5. The only issues appeared to be the tilt mechanism wasn’t tight which is an easy fix. CPP also has nice looking columns on eBay in the $200 range.
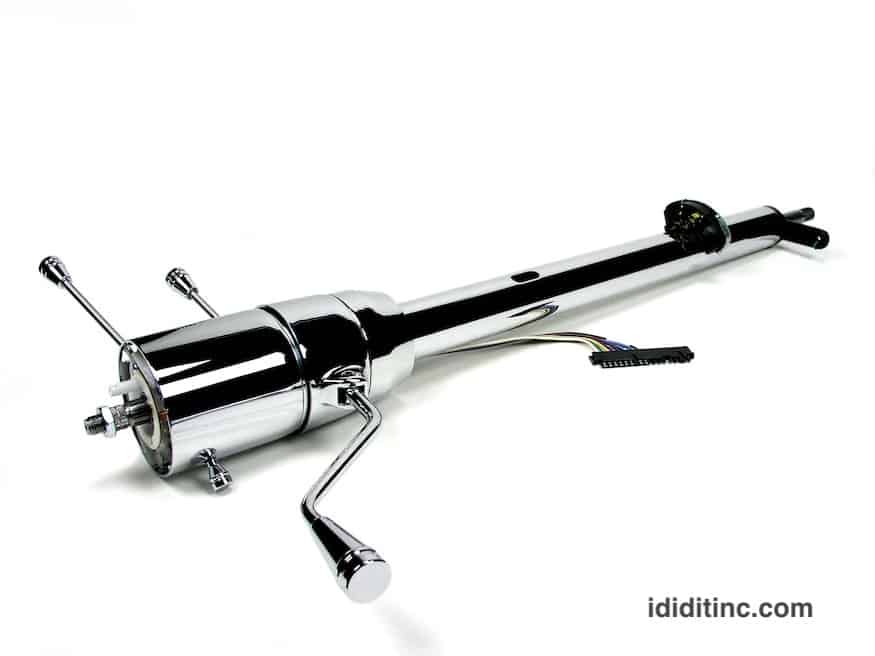
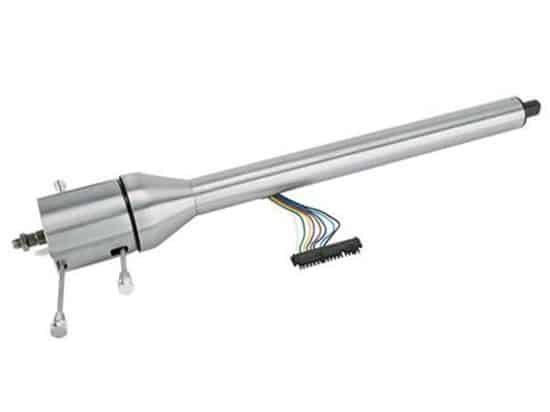
3 – Major Brands: The three biggest names in the more expensive columns are: Ididit, Helix and Flaming River. These columns begin in the $500 range and go up to $1500 depending on if you are looking at paintable, chrome, or stainless.
I’m sure its true here as with everything you purchase for your truck, the more you pay the better the quality will be.
| Where to Buy | Cost Minimum | Cost Maximum |
| Salvage Yard | $25 | $100 |
| Ididit, Flaming River, Helix | $400 | $1500 |
| Crash Parts Plus, Demotor Performance | $200 | $400 |
What Tools Are Needed?
There are not any tools required to do this upgrade that you probably don’t already have in your shop.
- Set of end wrenches
- Socket set
- Pliers
- Phillips and flat screwdrivers
- Hammer
- WD40 or other lubricant
- Portable work light
How to Remove the Old Column:
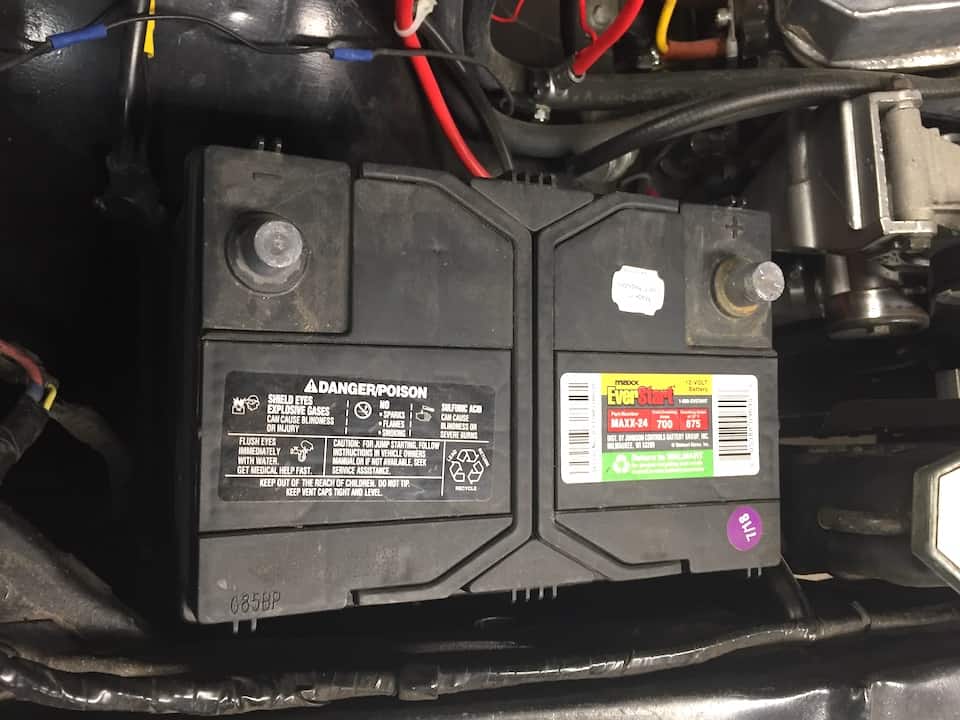
Step 1 – Unhook the battery: Undo both the positive and negative battery posts for your safety.
Step 2 – Undo shift linkage and joint: If your truck is an automatic transmission with column shift you need to unhook the shift linkage located on the column under the hood. Undo rag joint bolts and remove rag joint.
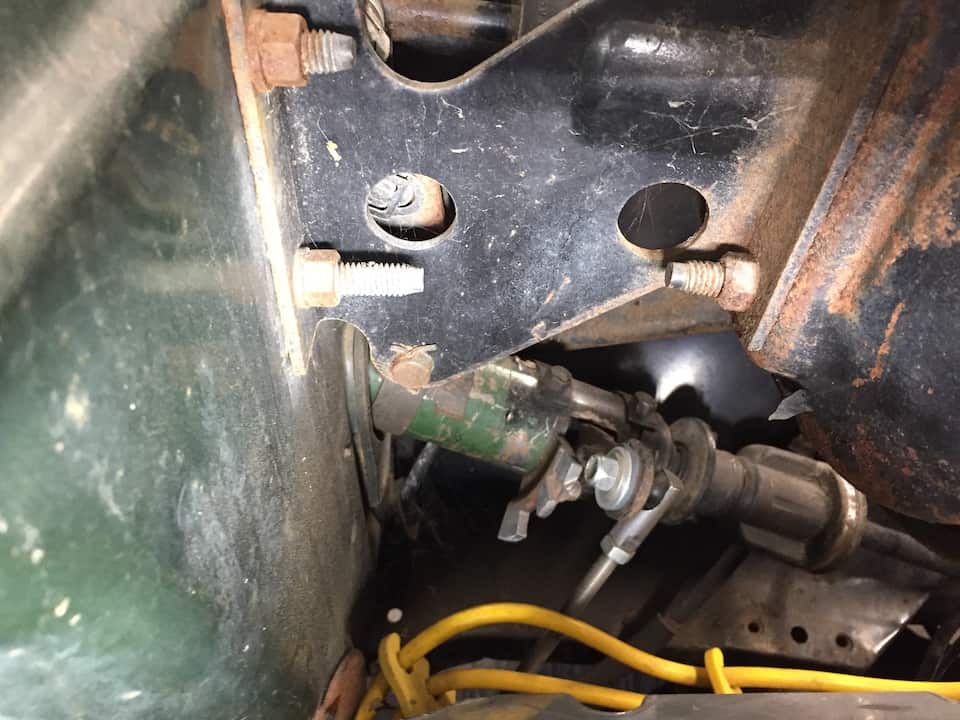
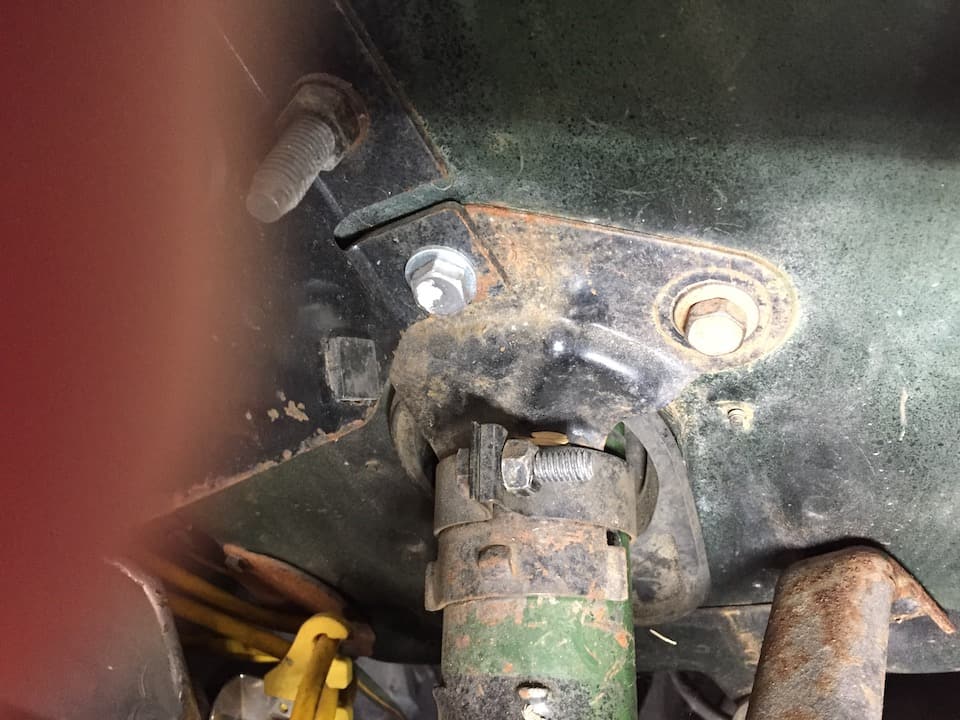
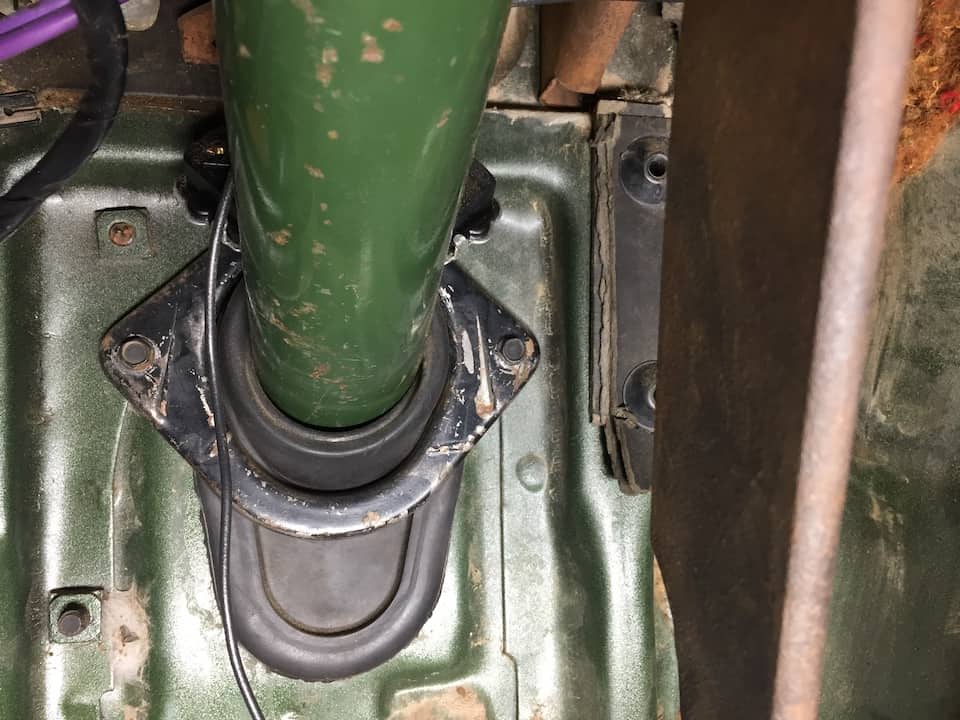
Step 3 – Remove firewall plate: On the firewall where the column comes through remove the two bolts on the firewall column support plate and loosen and remove the bolt on the retaining ring clamping column to support plate and remove.
Step 4 – Remove boot ring: Inside the cab where the steering column goes through the floor board remove the two small bolts holding the boot retaining ring to firewall.
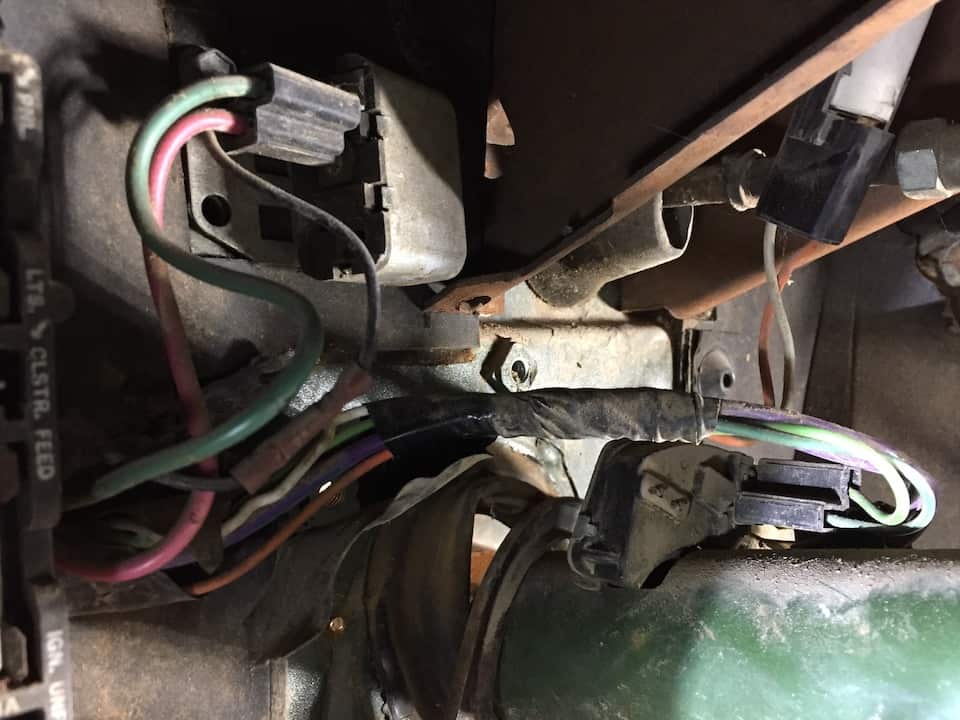
Step 5 – Disconnect wiring: Disconnect the two sets of wires at the neutral safety switch then reach up in under the dash bezel and remove the bulb with the fiber optic cable and let it hang down. Next pull the wire harness connector just under steering column apart and pull aside.
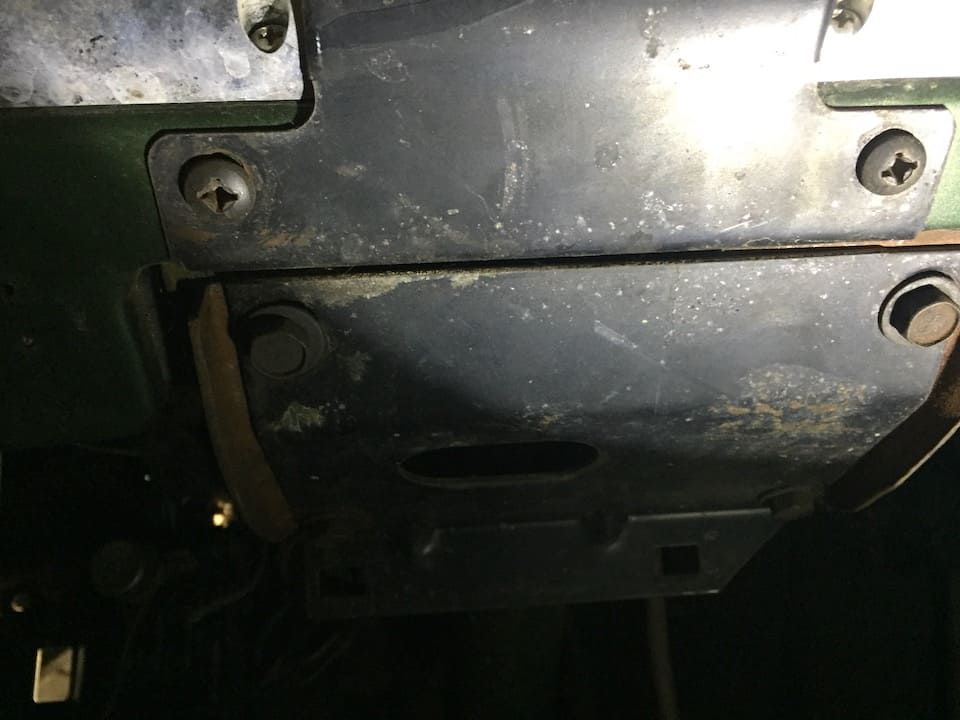
Step 6 – Remove retaining plate: Remove the two Phillips head screws holding the column grommet retaining plate out. Remove the four bolts on column support plate under dash and remove the two bolts up under the dash holding the column support strap.
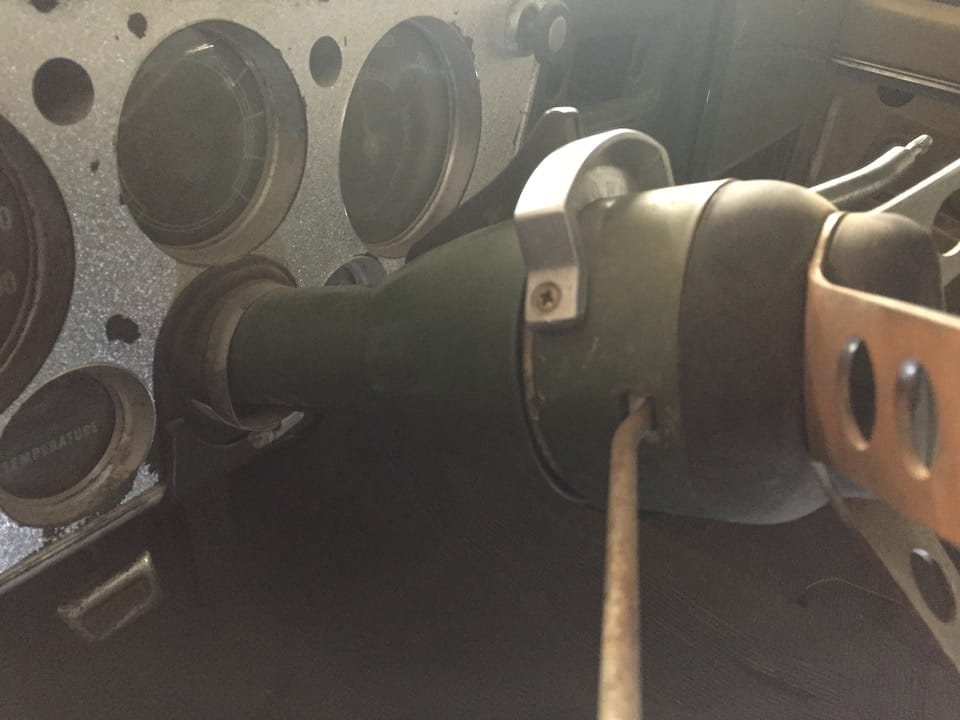
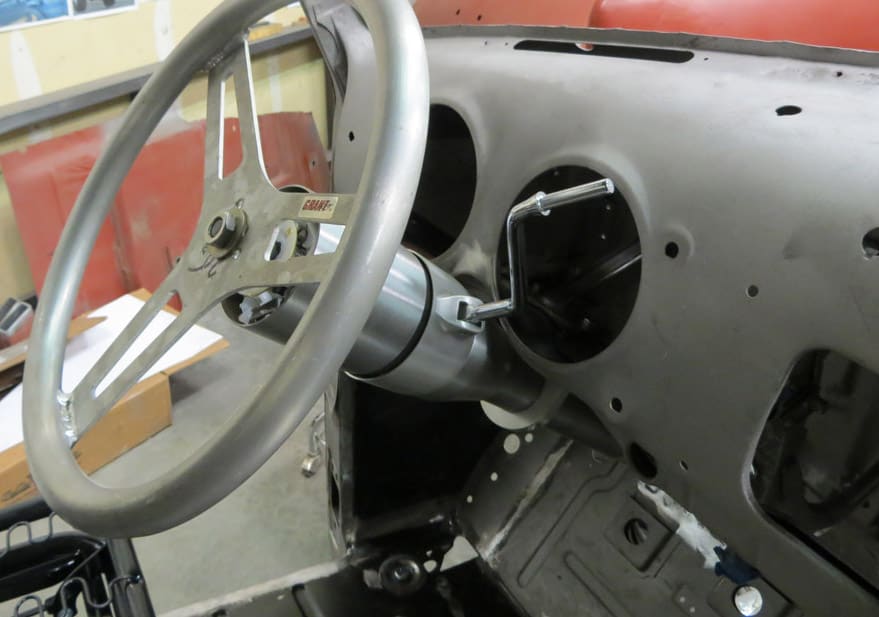
Step 7 – Pull out old steering column: Slowly pull the whole steering column towards you while working the whole column up and out. You may have to check the intermediate shaft as it will hang up on the inner fender if it isn’t turned just right. You also may have to tip and twist column a little for the transmission shift lever to clear the firewall hole. Remove whole steering column and intermediate shaft from truck.
Installation Of New Column
Step 8 – Intermediate shaft: disconnect intermediate shaft from old column. You need to collapse the intermediate shaft and get it loose enough you can slide it in and out for the length adjustment you will need.
Step 9 – Attach the intermediate shaft to the new column: You may need to slice the two grommets to attach to new column or some say you can bend transmission lever and slip them over. You also may need to slice the boot and grommet and cut retaining ring so it will fit on the new column.
Step 10 – Install the new column: Reverse removal steps to install
and add adapter for wire harness. If installing a new column follow the included instructions.
Final Thoughts
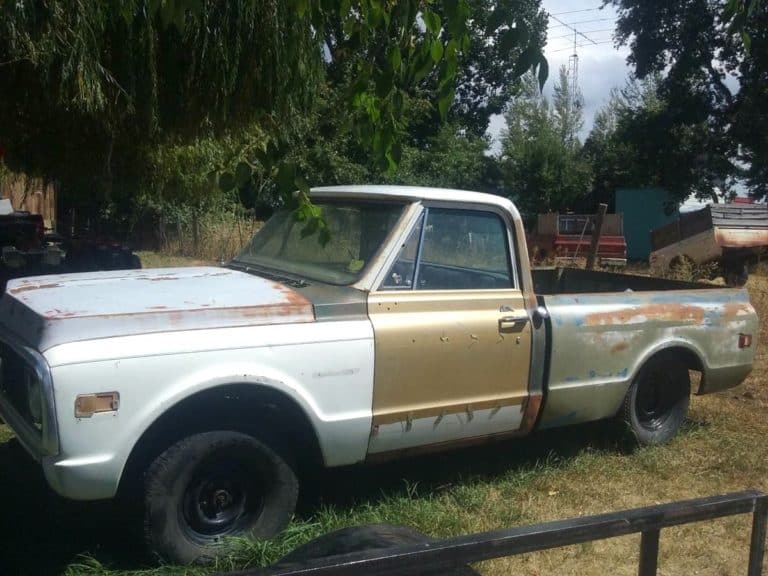
This is on the short list of projects to do on my C10. The column in my truck is pretty beat up and loose. I would really like it a couple inches closer to the dash and be able to tilt up and out of the way– making the driver’s side of the cab a lot larger. And the chrome, I always want more chrome. For $200 to $500 this is a big improvement on a truck.
The Tool Box
Here is a handy addition to your shop tools:

Related Topics
How do you remove a Chevy truck steering wheel? 1- Remove the steering wheels retaining nut with a socket and extension. 2- Mark the alignment of the wheel with the shaft. 3- Remove the wheel from the shaft with a wheel puller tool that is designed to remove steering wheels. 4- Do not use a hammer as you can ruin the threads of the steering column.
Do I need a steering wheel puller to remove the wheel? Not always, sometimes you can rock the wheel back and forth and it will come loose. If you need a puller and don’t want to buy one, many auto parts store have loaner tool programs.