Can I Paint My Truck or Car Interior?
Sometimes the interiors of old trucks and cars may be a few different colors as we change panels or weld in repair pieces. On a project truck, fifty year old paint doesn’t always hold up too well either– as well as all the scrapes, scratches and other things that have happened in years of use.
Car and truck interiors of all kinds can be repainted. Leather can be stained, metal can be painted, plastic and vinyl can be recolored. Even fabric on your interior or roof can be painted with special paint products.
Remove Everything That Comes Out Easily
Before starting a car or truck interior repainting project, almost every piece of the interior may need to be removed.
Anything that can be easily removed should be removed first. The best way to do this would be to take everything out– including windshield, rear window, seals, etc.
Remove The Door Parts
Next, remove the arm rests, door handles, window handles, and the door panels. To remove the door panels, remove the small trim pieces and the plastic covers that hide the small screws. There will also be plastic mounting clips to release.
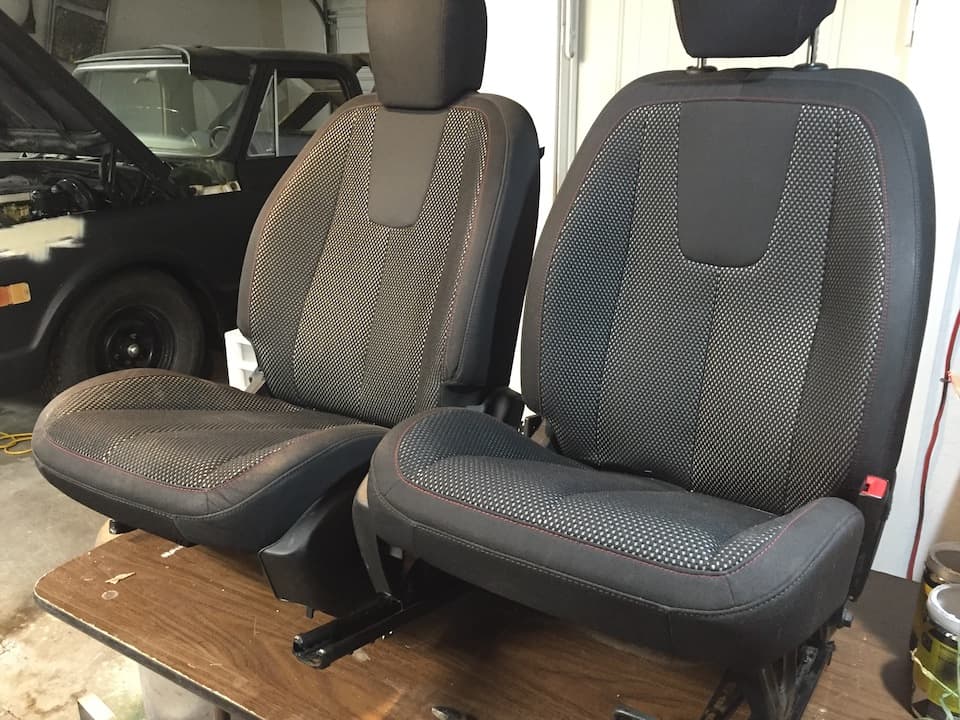
Remove The Seats
Now start with the main interior and remove the seats and console if there is one. Next, take out the interior light, followed by the glove box door. You will paint the door panels, glove box door, sun visors and ashtray front when they are outside the truck, after you paint the rest of the interior.
Remove The Knobs
Remove all the knobs while being careful to not lose the small set screws that your truck may have. A lot of parts are obvious to remove, like the blinker and shifter arm on an automatic.
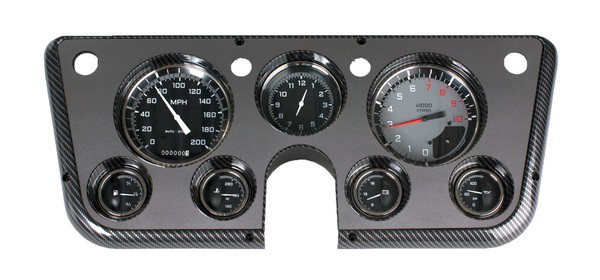
Remove The Dash Bezel
Next remove the complete dash bezel. This is pretty easy to do and this is a good time to rebuild it. Then remove the rear view mirror and anything else on the dash area that is removable.
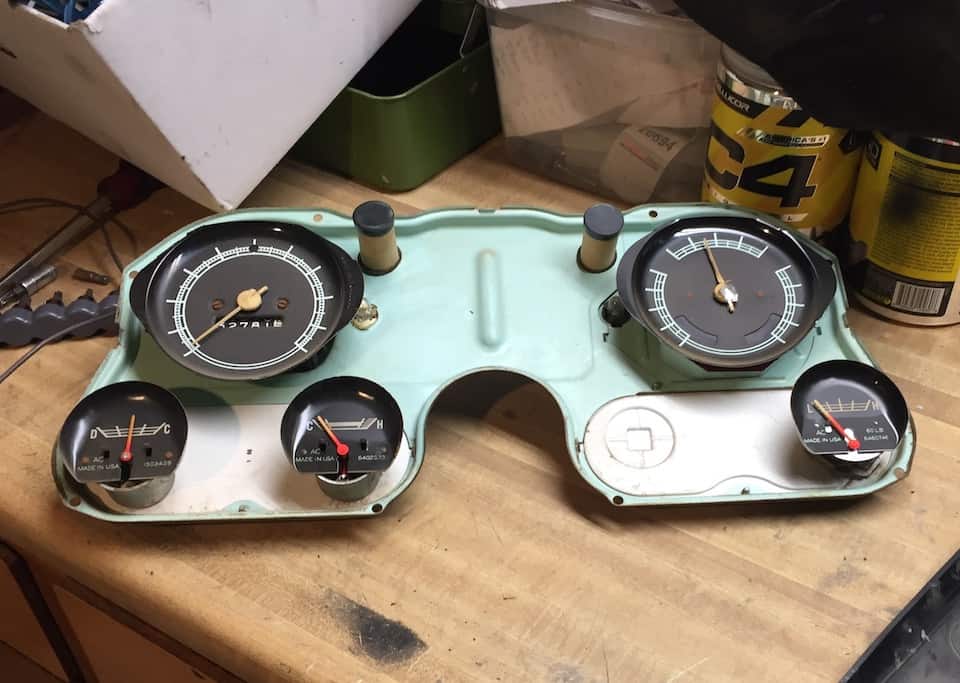
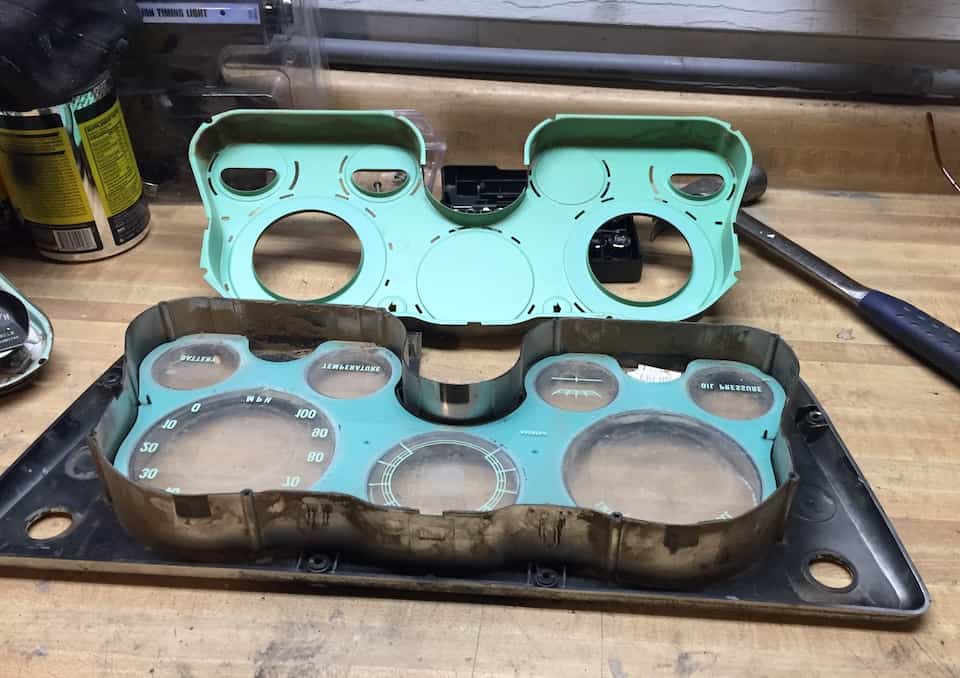
A bezel is the decorative trim pieces that surround the gauges and accessories in your dashboard.
Remove the Carpet And Padding
What a great time for a new carpet or complete rubber floor mat. This is also a good time to remove all the old sound deadening and replace it with new. This is where you will want to look for any rust areas forming that may need attention. Anywhere that is showing any rust should be treated it with POR15 to get it under control.
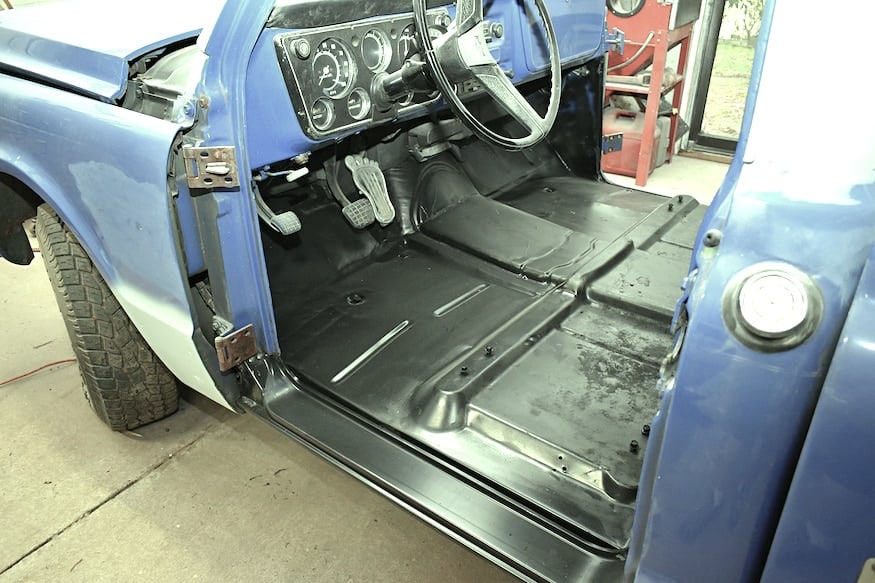

For my Chevy C10 this would be a good time to pull out the gas tank and inspect it for any rust areas, and also the inside cab corners to see if any areas there are beginning to rust.
This is a great time to do a really good cleaning and inspection of all the areas that are normally covered up. If you have any signs of rust or other concerns, you should paint with a good rust inhibitor in a spray can if you don’t want the expense of POR15. Krylon and Rustoleum both have products that will work fairly well.
Wrap and Tape the Unpainted Areas
When it comes to masking tape– you get what you pay for, so ask for the good stuff. This is where you cover everything that you don’t want to get paint splatter on. You can tell a good tape job by looking at the rubber seals around windows. With a little practice and a lot of patience anyone can do a good taping job. Just take your time.
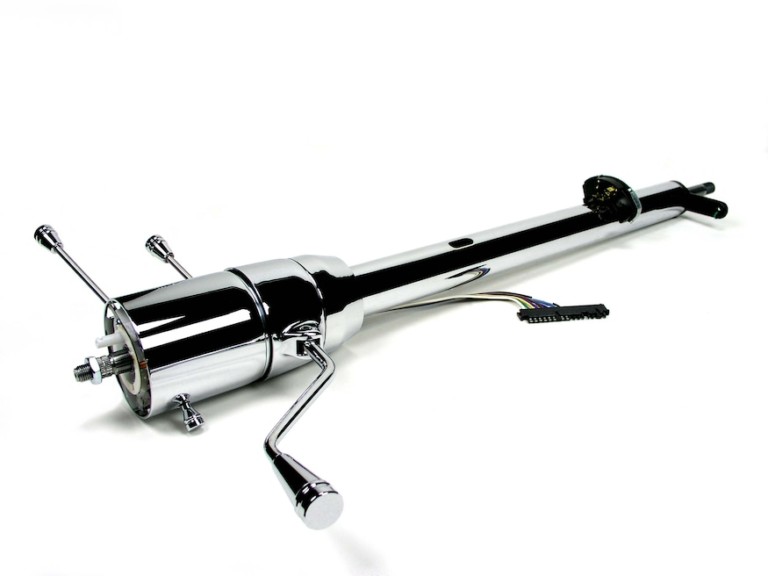
You will need to wrap and tape your steering wheel and any parts of the steering column that you don’t want painted. Cover all of your pedal covers and anything else that you don’t want to paint, because you will have overspray going everywhere.
Start Sanding- Then Use Scotchbrite Pads
This step will take a lot of elbow grease. You will want to get any scratches sanded smooth along with any chipped areas. This is important as these areas will show up in the new paint. If you have deep scratches you can spot fill with a filler primer then sand it till you get that area smoothed out. A good grit to start with is 320 then finishing with a 400 to 600 grit wet sand.
When you can feel that all the scratches and chips are gone, then use Scotchbrite scuffing pads on the whole inside area that will be painted. You need all of the old paint to be dulled by the Scotchbrite pads because any shiny areas will be prone to peel.
Wipe Everything Down With Wax And Grease Remover
Getting the surface area clean that you are painting is critical– as any surface contaminants will cause issues in your paint. Dupont Y-3919s “Prep-Sol” is mentioned frequently on forums as being a good choice.
I’ve heard of people using brake cleaner . . . but that it leaves a residue– which can’t be good. Your automotive parts store or any paint store that sells automotive paint will lead you in the right direction. After washing down, use a tack cloth to clean up any dust.
Spray on the Primer
If you haven’t already, blow out any dust with your air gun that could get stirred up by the paint gun. Again wipe it all down with a good wax remover and degreaser.
You can get into all kinds of discussions and arguments over which is the best primer to use. The best I have found is a good epoxy primer. If you need to buy an inexpensive $20 paint gun to do this interior job, it will be well worth it.
You may need to sand and fill more scratches and chips if you find them, now is a good time to be patient. The last surface coat before paint is the sealer, which seals all the primer and provides a uniform coat for the paint. This does not get scuffed or sanded.
Paint All Surfaces
If you followed all the steps and tips, along with some patience, you can start laying down fresh color. It is always a good idea to practice before you actually paint your interior. There are painting techniques and processes that are important to understand. You may want to catch a video of someone painting a truck interior as there are some odd angles to deal with.
The last step before spraying is wiping the body down with a tack rag. This picks up lint and dust. It can be pretty hard to paint the interior of the cab without having your pant leg scrape the rocker panel so it may be best to do the inside (dash, inner roof panel, etc.) first, then mask that interior off at the weatherstrip flanges to do the door jambs.
Its always a good idea to have something to spray– like a piece of cardboard or sheet of plywood– to set your gun pattern before you start spraying. Here is where a little practice and patience will go a long way.

Final Thoughts
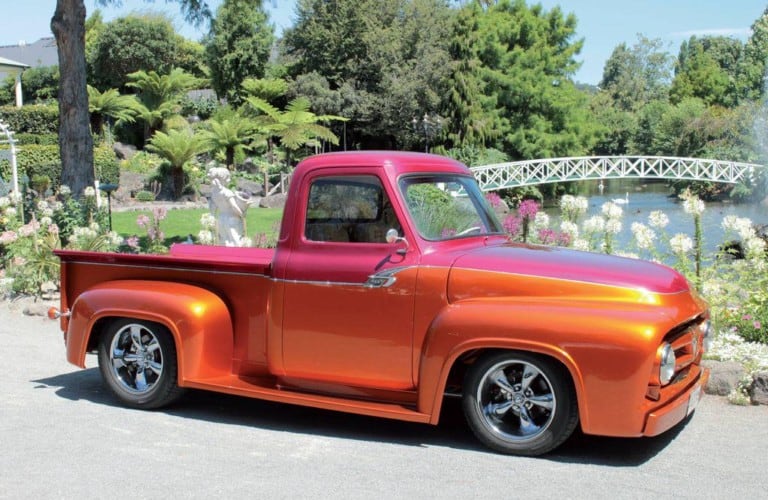
I know the repairs and painting I do on my rigs isn’t perfect, but I care more that I did the work myself. That I planned it, researched it, practiced it and did it myself– and that’s important to me. If I get a run or a blemished spot I can always fix it. And if I don’t like the color I can redo it anytime I want. Happy Trucking!
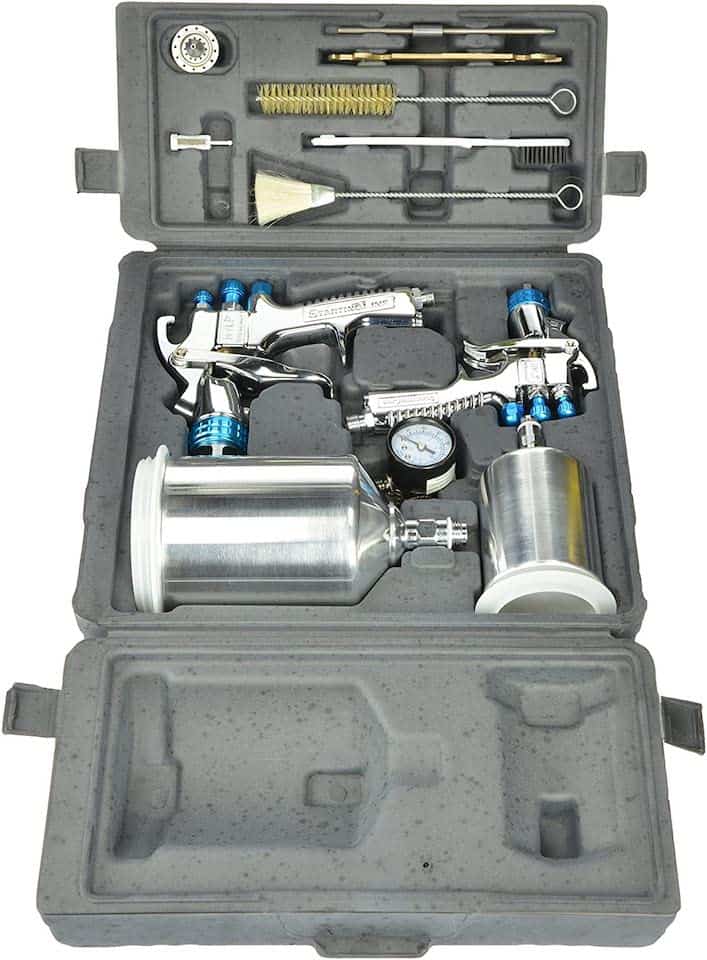
The Tool Box
If you have a paint shop you would probably spend hundreds for one paint gun. Heres a nice kit with two that is a quality brand on Amazon that wont set you back too much.
Everybody needs a good vacuum in their shop. You can’t beat free delivery to your front door.
Related Topics
Can you change the dashboard lights in a truck to LED? Yes you just swap in new bulbs in your instrument panel lights. You’ve probably replaced burned-out headlights and tail lights yourself and it wasn’t that hard but if you’ve backed away from replacing burned out dashboard lights because you thought the job was too complicated it’s really not that hard. Pull the bezel out of your dash and replace with the recommended LED replacement bulb.
Do I need an antenna on the outside of my truck for the radio to work? No you can mount the antenna under the dash, behind the seat, and some people mount them along the frame rails. Some of us do this as we don’t want the antenna sticking up in the air on our smoothed out trucks but we still want our tunes.
Sources:
Renkins, Joy, “Vintage Car Restoration Guide”, 2016
2carpros.com
One Comment
Comments are closed.