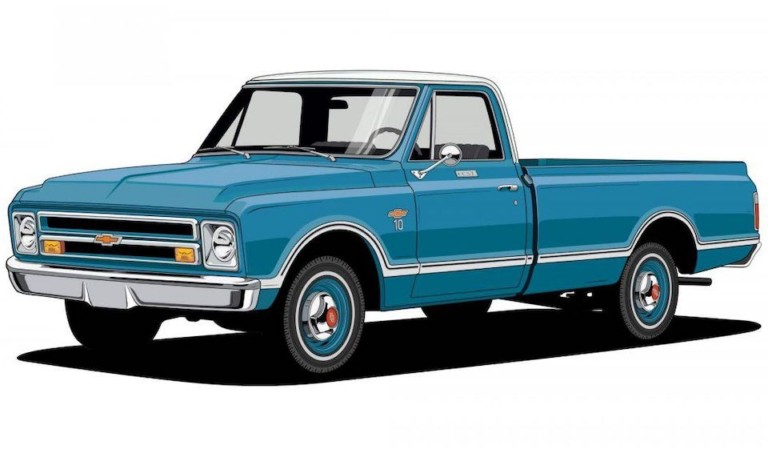
How I Removed the Automatic Transmission in My Truck
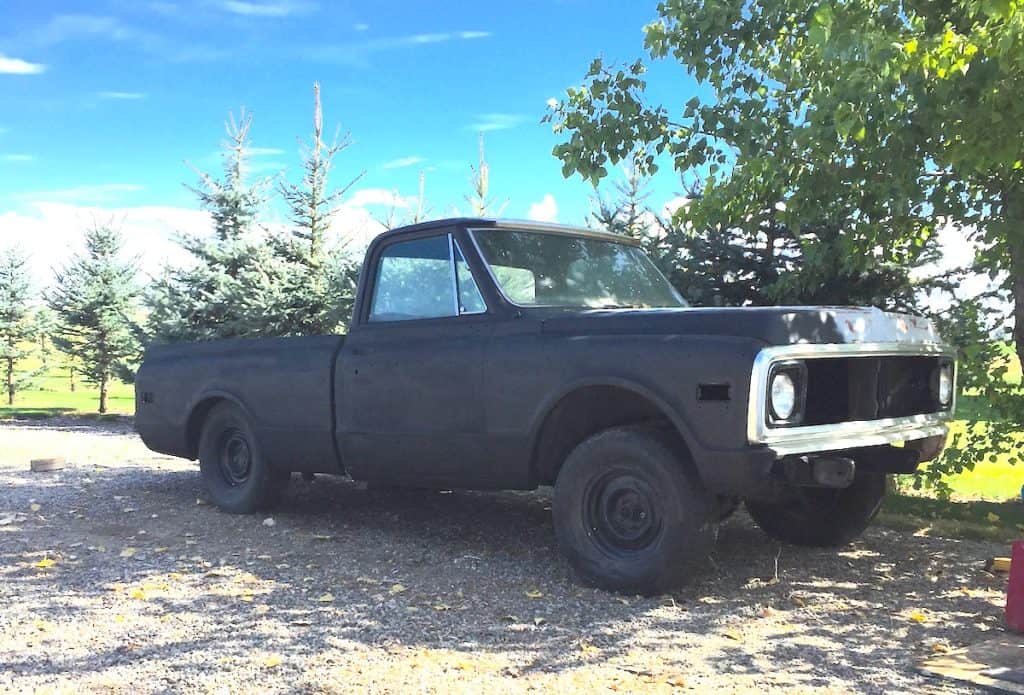
My ’72 C10’s transmission was leaking and I didn’t like the firmness of the shifting between gears so I decided to pull it out and give it a working over. I cleaned, painted, sealed and put in a TRANSGO reprogramming transmission kit. To do this work I had to remove the transmission and reinstall it while working from my home garage.
How to pull an automatic transmission step by step:
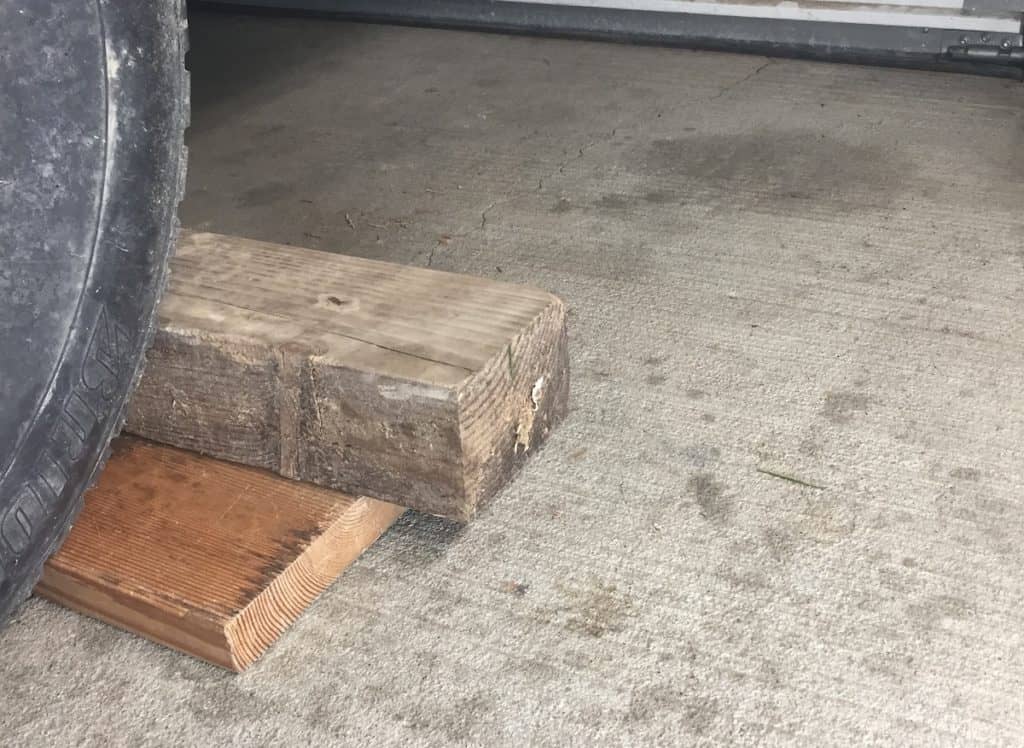
- Park on flat surface and chock rear wheel
- Lift truck on jack stands
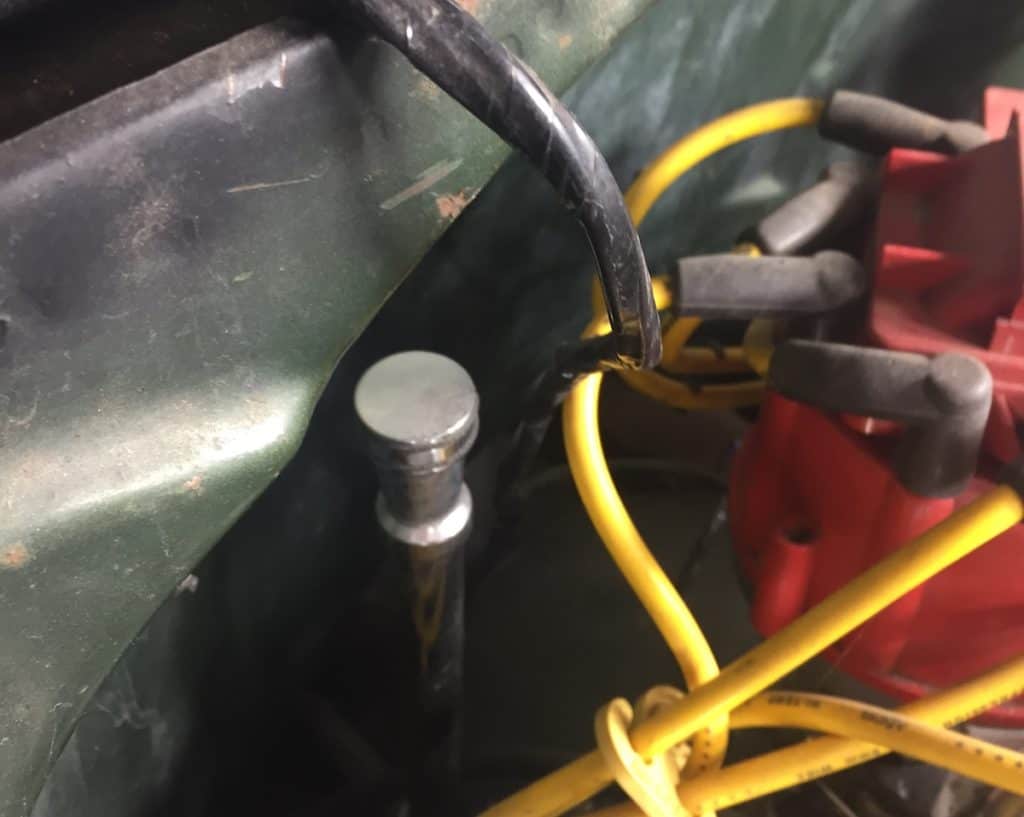
- Remove battery cable
- Remove driveline
- Undo shifter linkage and speedometer cable
- Remove transmission bolts & oil cooler lines
- Tie transmission to jack
- Slide transmission back and out
Pulling your transmission yourself can save you a lot of money if your getting it rebuilt. Here’s how I did it:
Removing The Transmission
Step 1 – Park on a smooth flat surface, put the transmission in park and chock the rear wheels. Lift the hood and unbolt the battery cables from the battery.
Step 2 – Pull out the transmission dipstick and set it aside. Find where the dipstick tube is secured to the transmission, and if its where you can reach it from the engine bay unbolt it and set with the dipstick. If it is not accessible you can remove it later from underneath the truck.
Step 3 – While working under the hood disconnect any electrical connectors that hook to the transmission. Also at this time remove any cables, brackets or hoses that connect the engine and transmission.
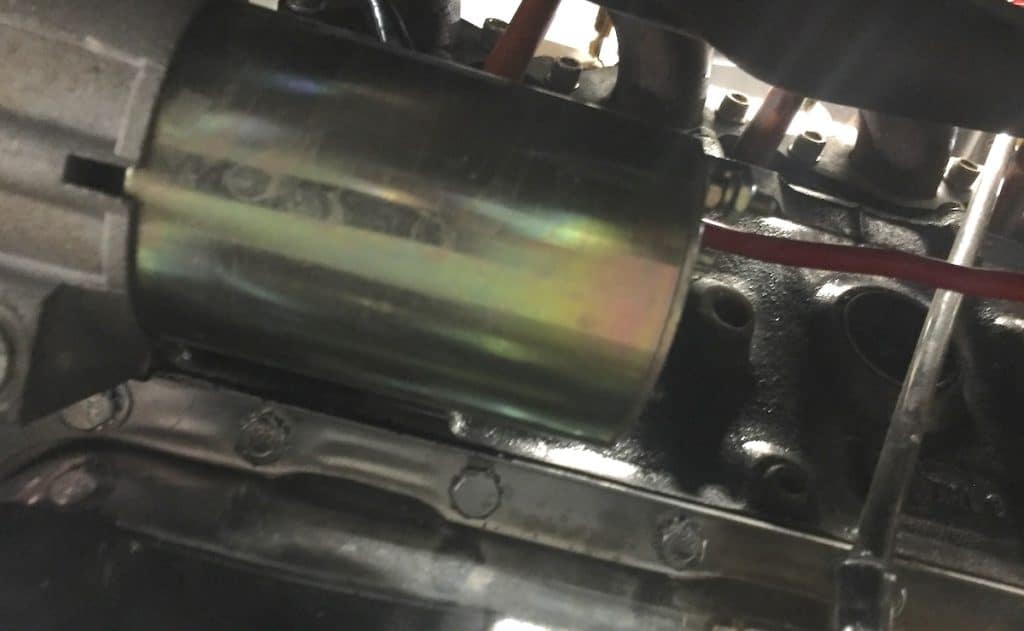
Step 4 – If you can reach from the top unbolt the starter from the engine bell housing area without undoing the cables. Pull the starter to the side and tie off with a strap so it doesn’t hang from its cable. At the back of the engine there should be a few bolts you can take out that bolt the bell housing to the engine. Be certain you are bagging these bolts and mark them separate as they may be different lengths.
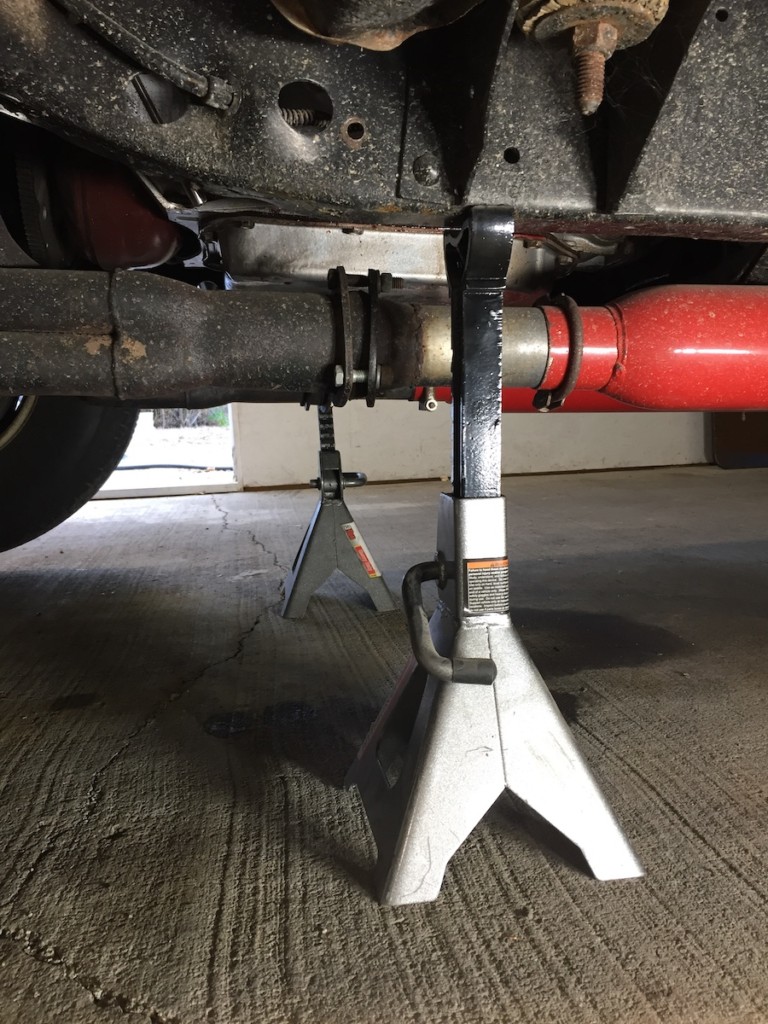
Step 5 – With the rear wheels chocked lift the front of the truck with the floor jack then place the jack stands securely under the frame.
Step 6 – Place the drain pan under the back of the transmission and undo all but a few of the pan bolts at the front of the transmission and let the pan drop so the oil will fall into the drain pan. When finished draining reinstall the pan bolts and finger tighten.

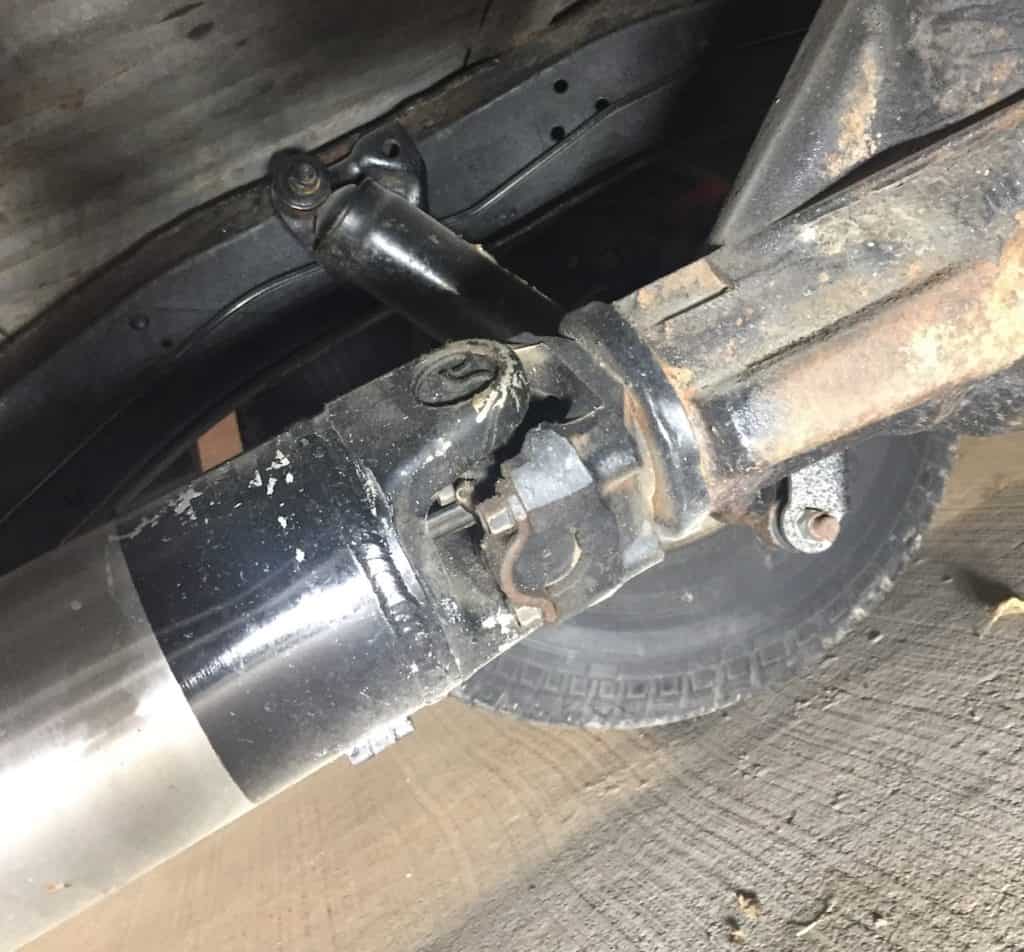
Step 7 – There are four u-joint bolts that hold the driveshaft to the rear differential that need removed. When the bolts are removed use a large screwdriver or small pry bar and pull the driveshaft forward so that it will release from the differential. Pull the driveshaft out of the transmission and carefully set it aside. Wrap tape around the u-joint caps so they don’t come apart.
Step 8 – Disconnect any electrical connectors, hose, shifter linkage and the speedometer cable. Detach the two transmission cooler lines with a tubing or line wrench. Be careful to not lose the thin metal washers that go with the connectors. Cover the ends of the hoses with tape to keep debris out of the lines.
Step 9 – Remove the inspection plate/cover located near the bottom of the bell housing. This will give you access to the torque converter bolts. Using a light locate the torque converter bolts and remove them one at a time as you will need to rotate the engine for each successive bolt.
There are two ways to rotate the engine. Use a large socket with a breaker bar on the harmonic balancer on the front of the engine or you can also use a small pry bar and wedge it between the teeth of the flywheel and the bell housing to rotate the engine. This can be done easier with some of the spark plugs removed.
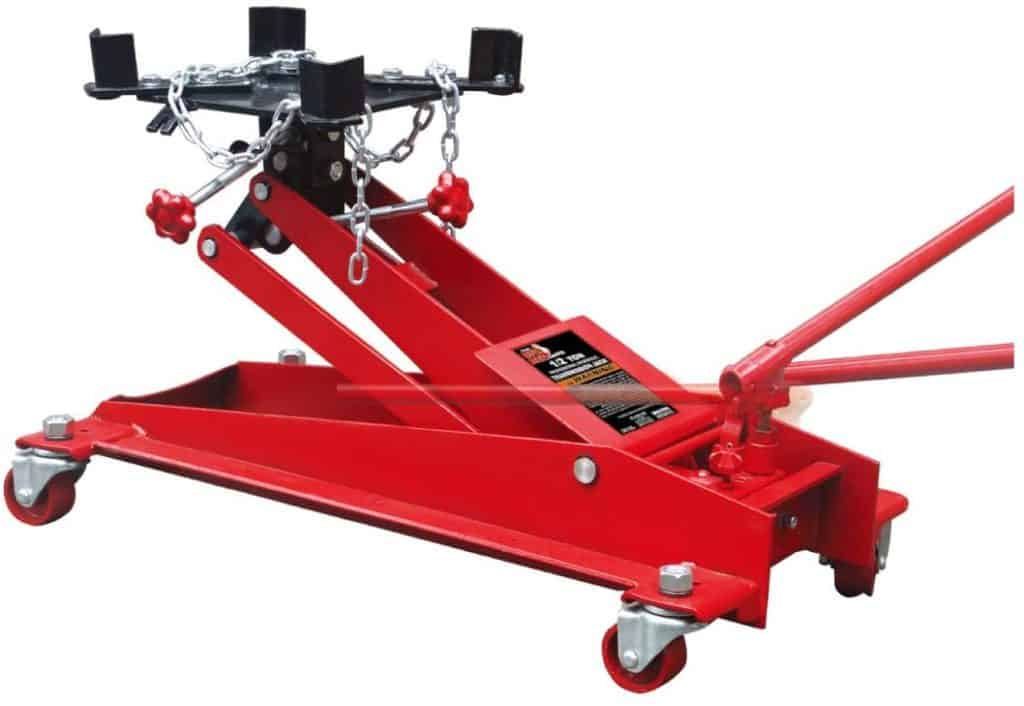
Step 10 – Position the hydraulic floor jack or transmission jack if you have one underneath the transmission and lift up with just a little pressure and secure around the transmission with a strap. Remove the transmission mount bolts that are securing it to the engine. Remove the bolts that hold the crossmember to the truck frame and then remove the crossmember.

Step 11 – It may be necessary to remove some of the exhaust out of the way or remove it to get the transmission out from under the car. Recheck to make sure all bolts in the bell housing are removed, all electrical connectors are unhooked and all hose connections are unplugged.
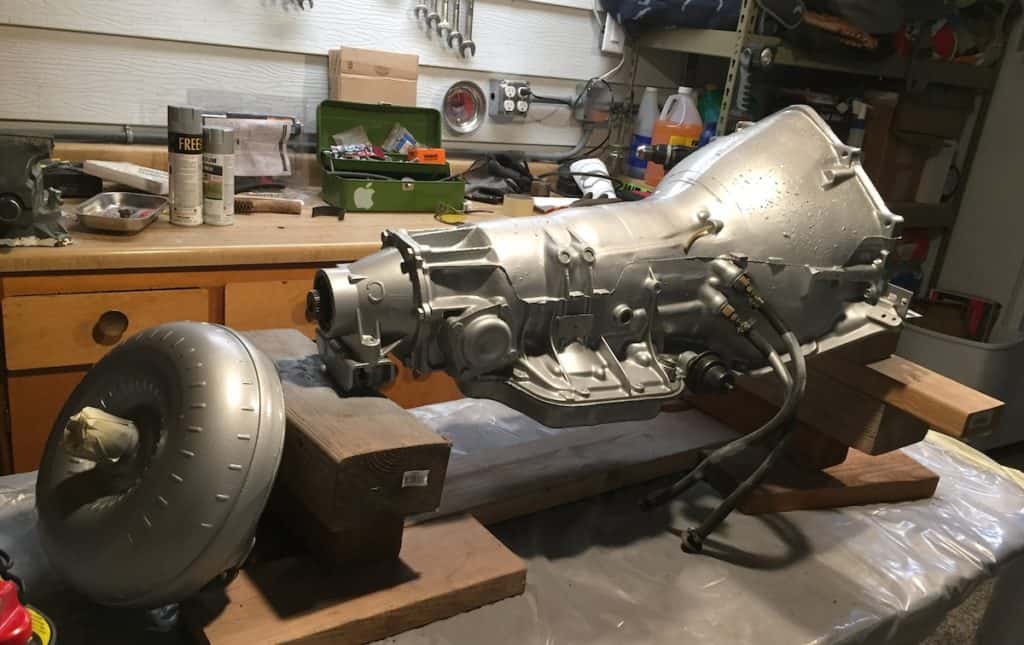
Step 12 – With the help of an assistant lower the transmission and pull out to the side that is most open. Be very careful because once the transmission is apart from the engine there is nothing holding the torque converter in place. The converter may fall to the floor if the transmission were to tip downward. It is very heavy and full of oil.
Pull the torque converter out of the transmission when the transmission is in a safe configuration. You will need to drain the converter of its transmission fluid whether you are going to reuse it or replace it. If you use it as a core in buying a new converter they will expect it to be drained.
Organizing The Parts
Its always a good idea to keep track of where each bolt, nut, washer and part goes. From experience I can tell you this step will save you a lot of headaches. Some simple heavy baggies will work just fine. You can label them with a marker before you start taking things apart. Here is a list to label the bags:
- Driveshaft/u-joint bolts
- Transmission mount nuts, bolts, clips
- Transmission oil cooler line washer fittings
- exhaust heat shield bolts (if necessary)
- Flywheel cover plate bolts
- Box for miscellaneous
- Cross member bolts and nuts
- Dipstick tube bracket bolt or nut
- Starter bolts
- Bell housing bolts
- Torque converter to flywheel bolts or nuts

Why Remove My Transmission?
There are a few different reasons to pull your transmission out yourself and here are just a few.
- It can save you $500 to $1200 if you pull your own transmission and take it to the transmission shop for a bench rebuild (you pull it and install it yourself).
- You are doing a frame-off restoration on your truck.
- You are experimenting with different engine and transmission combinations or are building mounts.
- It leaks and you want to do the repairs yourself.

Tools And Supplies Needed
Here is a list of the tools and supplies you will need to remove a basic rear wheel drive automatic transmission:
- Hydraulic floor jack
- Jack stands
- Socket set with extensions
- Pliers
- Hammer
- Shop rags
- Small containers and marker
- WD40 or other lubricant
- Drop light
- Drain pan for fluids
- Pry bar
- Screwdrivers
- Wrench set

Final Thoughts
I’ve pulled the transmission on my C10 a few times and it is getting easier all the time. It probably only took me a couple of hours to pull it and it will go back in just as easy and quick. This is a good way to save some money if you are getting it rebuilt, or just handy to know how to do it when you want to work on your transmission. Happy Trucking!
The Tool Box
Here are some handy tools for pulling out your transmission. Now you can loan these out to your friends.
Related Topics
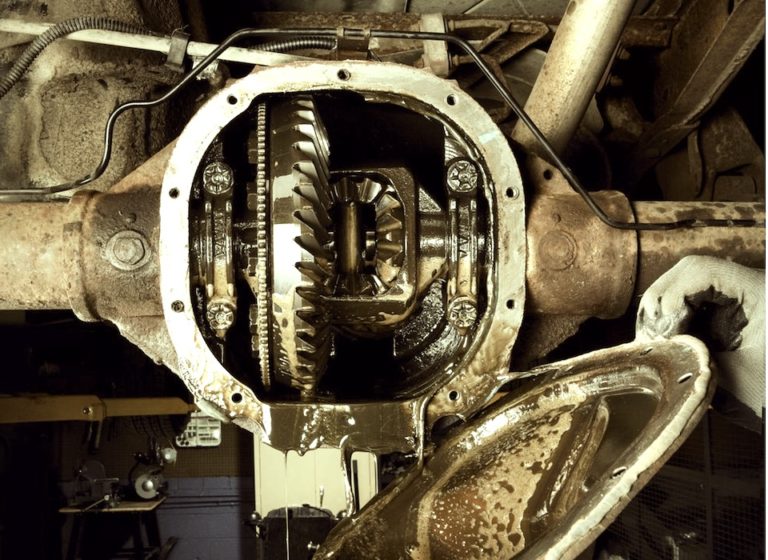
What are the signs of a bad differential? A rattle or clanking noise when the vehicle takes off from an idle. Grinding or humming noises coming from the rear of the vehicle. The differential is leaking fluid from the axle seals or the pumpkin seal.
Are 3.73 gears good for highway? Not so much if you plan on doing a lot of freeway driving. If you will be doing a lot of freeway driving you don’t want to choose a gear that’s too low for your truck because you’ll be going down the freeway with your truck revving too high. Shorter gears (higher numbers) are much better for quick accelerating, such as 3.55, 3.73, 3.91’s, 4.11’s.