How To Degrease And Paint Your Classic Truck Engine
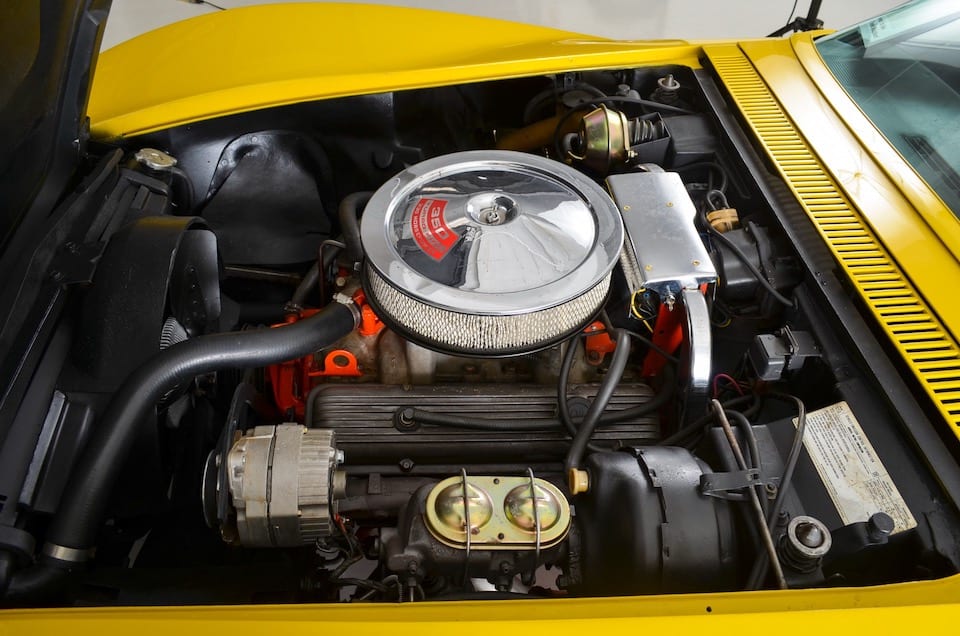
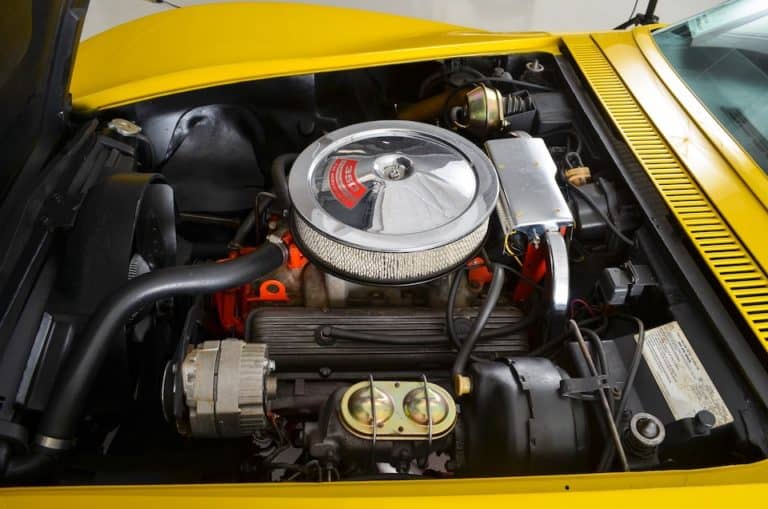
We all see those perfect trucks at the car shows where the engine bay looks like it’s fresh off the showroom floor. The paint on the engine is so perfect it reflects off of the chrome. If this is what we want our trucks to look like we need to pull the engine out of the truck and get started.
How do you degrease an engine for painting?
- Pull the engine
- Remove parts not to be painted
- Seal out moisture from entering the engine
- Spray the engine with the cleaner degreaser
- Rinse the engine with clean water
- Wire brush caked areas
- Repeat as necessary
- Tape the engine
- Apply primer
- Paint the engine
Let’s take a thorough look at how to clean and prep the engine, and then paint it.
Pull The Engine
I know this is not what you wanted to hear, but I can tell you from many years of experience, that you will never get a desirable paint job on your engine without removing it.
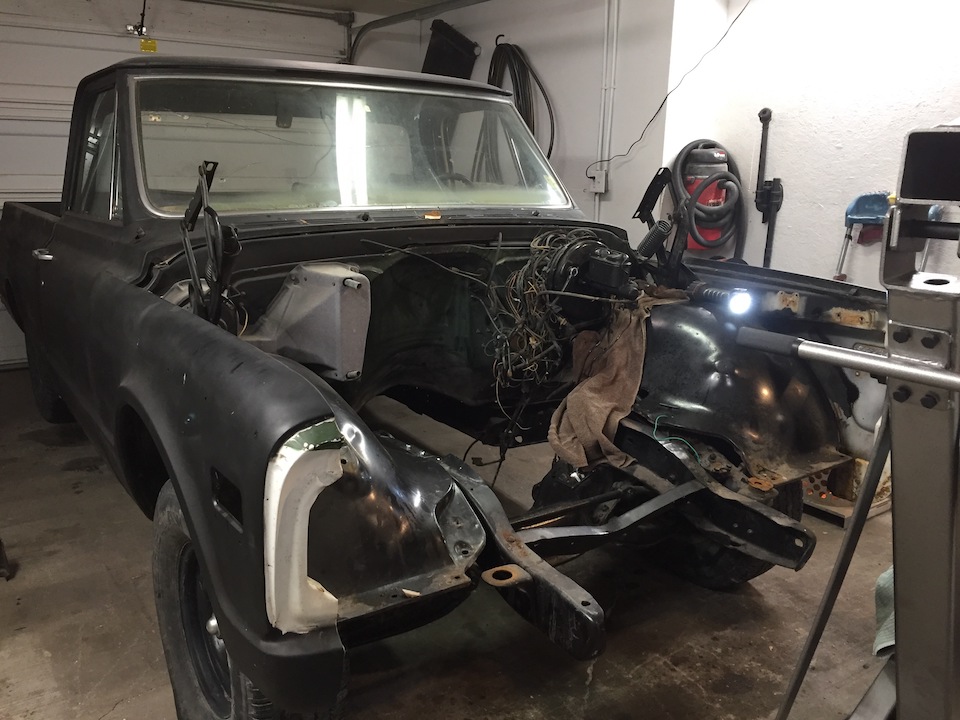
What better way is there to get to know your truck inside and out than pulling your engine? I work in my garage where the ceiling is not high enough to lift the engine straight up with my cherry picker and roll it out, so I remove my front clip to accomplish this task.
It’s always a good idea to bag and label any nuts, bolts, screws, washers and any other part that need to go back in their location. It can save a lot of headache and stop you from losing any parts.
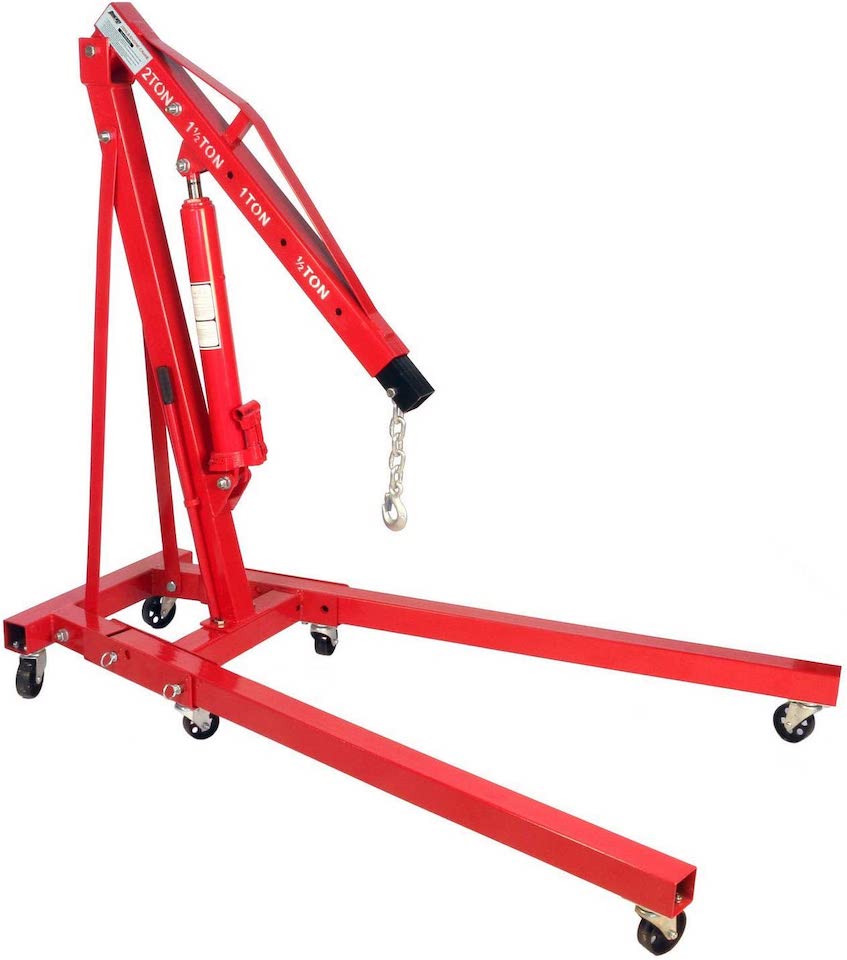
I have gotten to where I can do this by myself, so I’m sure anyone can do this with a 2 ton cherry picker. Here is one like I use from Amazon that is a good investment for your shop tools.
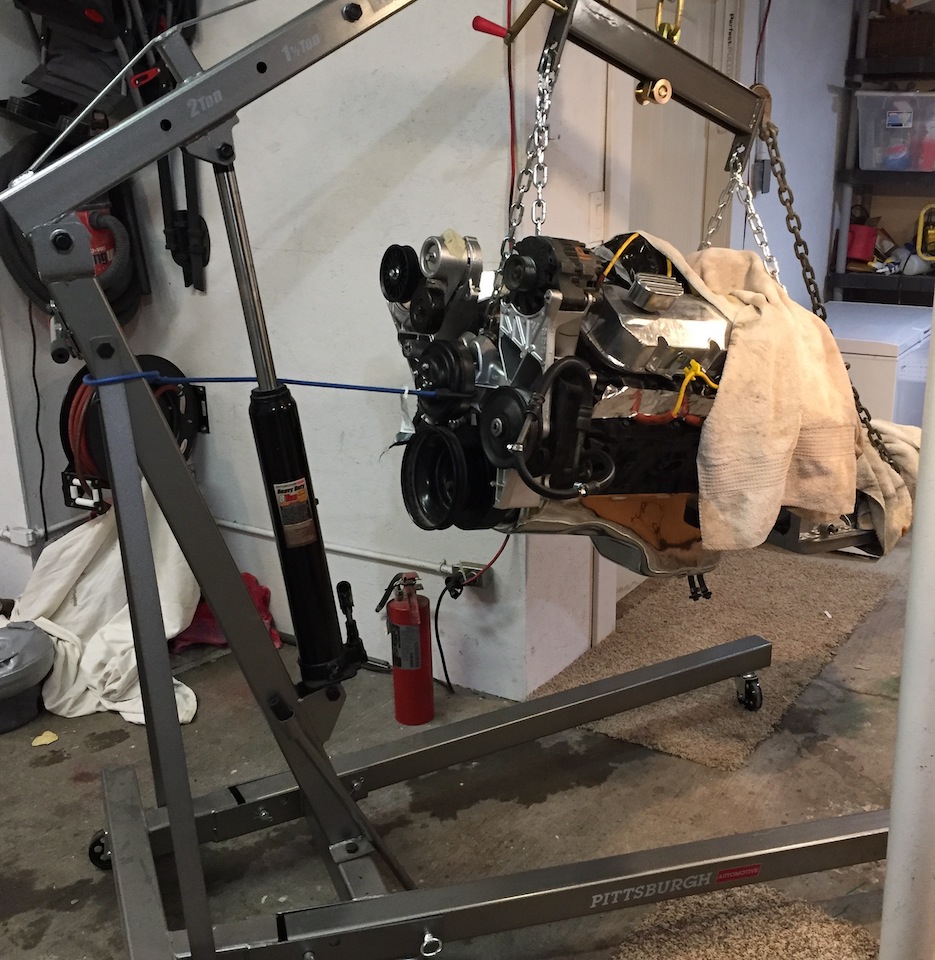
I would highly recommend you have a helper as these engines are quite heavy and awkward to handle. If I was worried about scratching a good paint job on my truck I would certainly bring in some help. My wife is nearby so if I drop it on my foot she can call the ambulance for me.
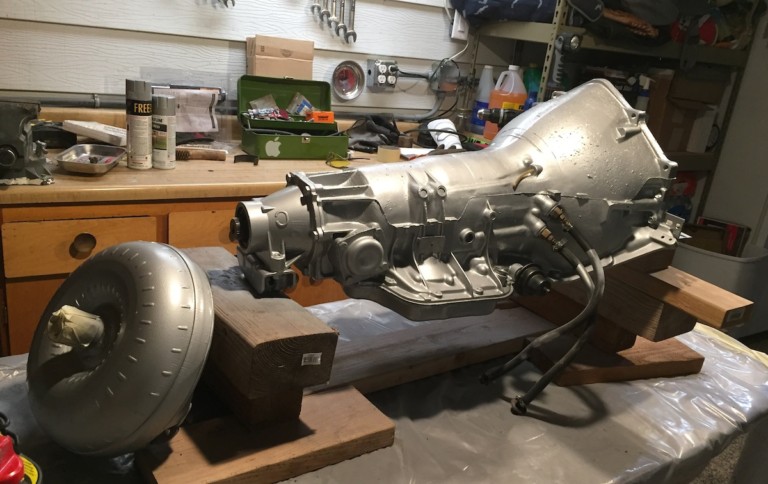
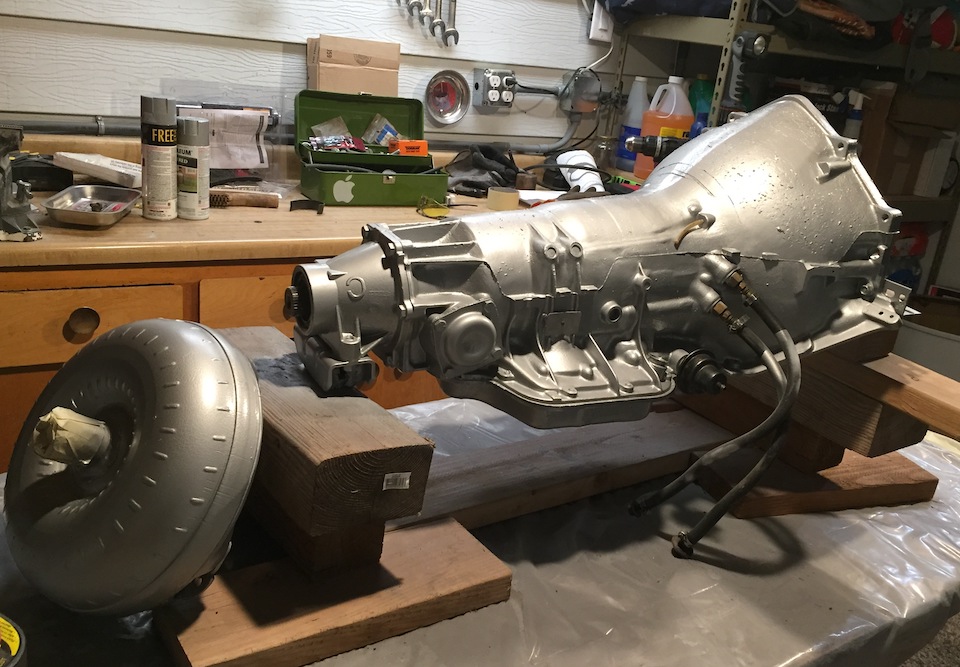
While I had my engine out I found it to be an opportune time to clean and paint the transmission also. While doing this I also decided it was a good time to put new seals and a shift kit in my transmission.
Remove Parts Not To Be Painted
You will want to remove any parts that you haven’t already taken off before you pulled the engine and bag and label them as to where they go. There are a lot of parts that you can paint separately like manifolds, alternators and other parts to give your engine a real dressed up look.
Seal Out Moisture From Entering The Engine
In writing this I’m assuming you are like me and don’t have access to a sand or media blaster. I have a high pressure washer but it is not a steam cleaner so I have to make do with what I have. You will want to remove any parts that may be damaged by water or degreaser.
These bottle stoppers come in both rubber and cork. There are tapered round ones and they come in lots of sizes from very small to very big. These will work well for spark plug holes, distributor holes, ports, etc. while spraying as they will do a great job of keeping water or paint from getting into the engine. Here are a set that you can check the price on Amazon:
19 Pack (10 Assorted Sizes) 000# -7# Solid Rubber Stoppers
You can wrap your carburetor up tight with a plastic bag and tape it tight. Another item that works good is aluminum foil. You can use it like masking paper for hard to conform to areas like the rocking arm areas after you remove the valve covers. Blue masking tape will stick to it so you can simply shape the foil over the rockers then seal the entire area tightly with tape to keep your paint only where you want it.
Spray With Degreaser
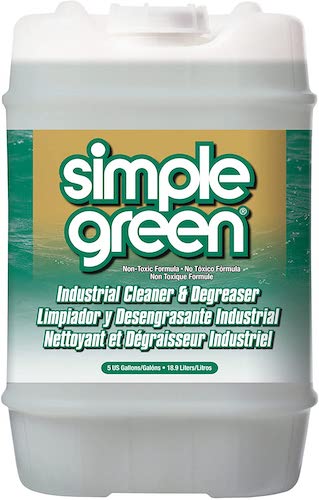
The best products I have found are Simple Green, Super Purple or equivalent. Thinner 325 or Mineral Spirits are also good choices for de-greasing. You will need to do a lot of wire brushing and scraping before spraying it down. Let it soak for a good ten minutes then rinse.
Wire Brush Any Greased Caked Areas
On an older well used engine you will have areas that will take a lot of elbow grease. This is the time to really get into the cleaning by using a stiff bristled wire brush with a degreasing dish detergent like dawn. You wont hurt that cast iron block and it will give you a much better paint job for all your efforts.
Rinse the Engine With Clean Water
I have read of some people using a wire brush with soapy water and then using a sponge for the final cleaning but I haven’t tried this myself. Its important to get it clean but more important to keep any water or debris out of your engine.
Repeat As Necessary
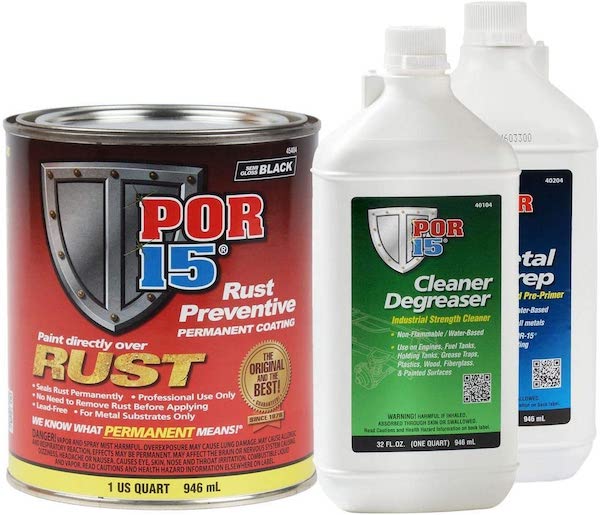
For a good thorough wash, Brake Cleaner or Lacquer Thinner is a good choice to get that last bit of oily film off. POR-15 makes an entire paint/prep “kit” that is specific for engine applications that is available on Amazon. I have not personally used this one of POR 15s products but I have used others of theres and have liked them all.
Tape Your Engine
Now is when you need to take the extra time to tape off everything that you don’t want to be Ford engine blue or whatever your choice of color is. Spend the extra few dollars and get a good painting tape that the parts store where you bought your paint recommends. 3M makes some good tape products, just buy the more expensive roll.
Primer Your Engine
The actual cast iron parts do not require primer but you will get a better paint job if you primer them. All of the the sheet metal pieces, as well as the aluminum diecast parts need a good primer. The most preferred is epoxy, but I have used etch paints, and even POR-15 as primers successfully. It is important to remember that laquers do not hold up well in heat.
To get a paint job that will last longer than your first drive the parts need to be extremely clean with no rust. If you have rust areas it would be a good ides to use POR 15 rust inhibitor.
It may be preferable to primer and paint on the same day so that you don’t have to sand the next day. Sanding will most likely bring up bare spots, that will require reprimering.
Paint Your Engine
There are a lot of choices for paint– from rattle can engine paint to Centari with a hardener, single stage urethane or Imron. All these choices can create very nice finishes, while rattle cans may give you a lesser quality job. It may be a good idea to buy an inexpensive paint gun as they will give you a desired finish.
I keep an inexpensive gun around for these types of jobs. Here’s one on Amazon that won’t set you back too much.
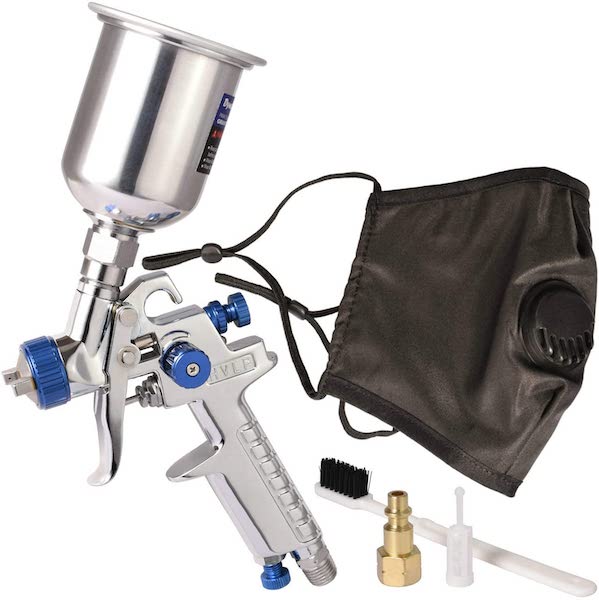
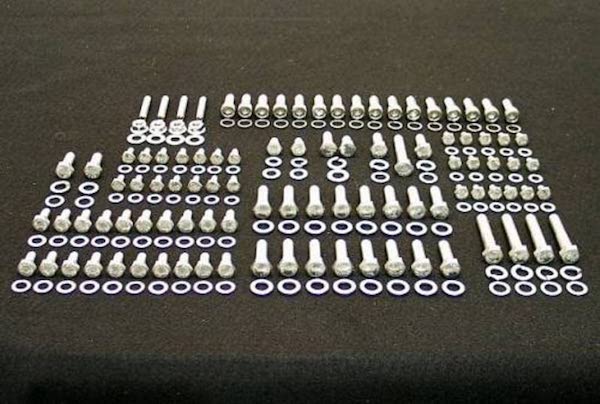
For most engines it is easiest to paint the block and heads bolted together, while everything else is done separately (oil pan, timing cover, intake manifold, etc.) Doing it this way will give you a nice detailed look when you assemble it with new plated bolts and washers.
To give your engine a nice touch I recommend using stainless hardware. It is durable and can be polished to emulate chrome. You will also avoid the chipping and scratching that happens with painted hardware.
I feel the best choice to insure your hard work looks good is either Imron (polyurethane), or a Single Stage Urethane. Base/clear if it’s a metallic. The beauty of using these is the color selection is endless.
Final Thoughts
Now your engine looks so good you might be nervous to put it back in your truck. This is where you are going to need some extra hands to ensure your paint doesn’t get chipped or scratched. You may want to tape on some padding or cloth to keep it safe from these hazards.
This probably took more than a weekend to accomplish, but now your engine will shine just like the ones you saw at the car show. Happy Trucking!
The Tool Box
When we take on the task of cleaning, degreasing and painting parts of our trucks there are a few tools that can make the job a lot easier.
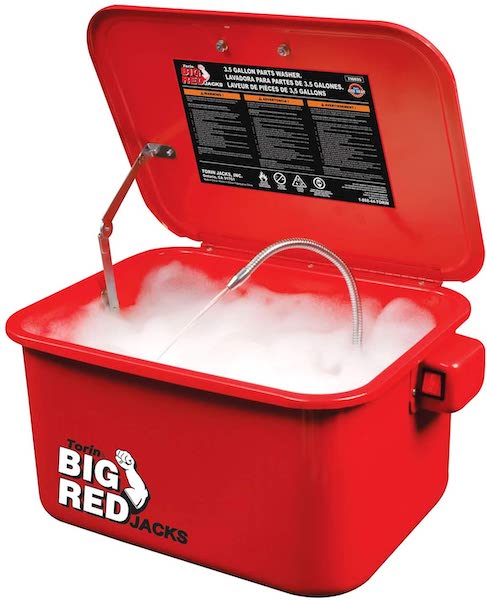
A handy tool to have is a parts washer. They come in a couple of sizes– like a bench top or free standing. Another tool that you will want to have is an engine stand. I would stick with a stand that has over 1000 pounds capacity for your larger engines. They are pretty much a must have so you can spin your motor while you work on it.
Related Topics
Is it dangerous to have your gas tank located in the cab? Currently, the owners of some older pickups remove the tank from the cab and mount them under the bed behind the rear axle. In a rear end accident this tank position is exposed to major damage from a heavy hit. An original in-cab tank is nicely protected from most of these rear and side impacts.
Are old trucks required to have seat belts? Federal laws hold cars and trucks to the standards that were in effect at the time of their manufacture. Since many pre 1966 cars and trucks did not have seat belts they are not required to have them now. State laws do vary, however so check your state laws. There are easy ways to install seat belts in older cars and trucks which will make them a lot safer.
